What Type Of Plumbing Was Used in 1970?
Last Updated: February 27, 2025
So, what’s 1970s plumbing? It’s the type of pipes and systems folks used to get water to their homes back in the day. Think of it like old school water slides—those pipes bring water right where you need it.
A question that pops up time and time again is what type of vintage plumbing systems was used in 1970, and let me tell you from my experience, it’s quite the mix! In this article, I’ll help you navigate through the ins and outs of this vintage plumbing system.
This guide will cover identifying 1970s plumbing systems, costs for repairs or replacements, special considerations, and when it’s time to consult experts about plumbing issues.
Table of Contents
- What Type Of Plumbing Was Used in 1970?
- What is 1970s Plumbing?
- Before You Start Considering 1970s Plumbing
- How to Identify 1970s Plumbing Systems
- How Much Does 1970s Plumbing Cost for Replacement or Repair?
- What Factors Affect Plumbing Choices in the 1970s?
- How Plumbing Regulations Impacted 1970s Installations
- Shifts in Plumbing Materials During the 1970s
- The Influence of Environmental Awareness in the 1970s
- Special Considerations When Dealing With 1970s Plumbing
- When to Consult Experts for 1970s Plumbing Issues
- FAQ
- Final Thoughts on 1970s Plumbing and Its Modern Implications
- Additional Resources
What Type Of Plumbing Was Used in 1970?
In the 1970s, residential plumbing commonly featured copper piping and galvanized steel for water supply, while PVC became popular for drainage. This era marked a transition towards more reliable and durable materials for homeowners. If you’re curious about the professional path of becoming a skilled plumber, mastering these material techniques is crucial for success.
What is 1970s Plumbing?
1970s plumbing refers to a unique combination of materials and methods that left a mark on residential plumbing across the U.S., including our sunny California. Homes typically used copper or galvanized steel pipes (Which Can Corrode Over Time), with larger lines sometimes exceeding 2 inches (5.08 Cm) in diameter, making installations quite hefty. What’s cool is this decade saw some standards change, ensuring longer-lasting plumbing—though it wasn’t all perfect. For instance, PVC (Polyvinyl Chloride) was just starting to make its way into plumbing, but it was pretty new and not widely accepted yet.
If you’re dealing with older pipes and need practical guidance, you might want to learn how to safely manipulate vintage plumbing connections.
Back when I was working on a remodel in East Irvine, I used PVC to upgrade the main supply lines while showcasing that old galvanized steel in the process. This was perfect to tie in not just to the charm of homes from that era, but also to demonstrate physical changes. It amazed me that homes were largely built with outdated practices, retaining the plumbing styles of 1970; and of course, the clunky regulations, like the PATM (Penal Action Facilities Motorwrap), established some hard-hitting guidelines by 1980. Back then, getting certified on new material heat sustainability had tangible impacts years later—shortly opening doors for using greener capabilities now. When upgrading water systems, professional expertise becomes crucial, which is why I recommend consulting a skilled water heater installation expert.
Before You Start Considering 1970s Plumbing
What do you need to prep for examining 1970s plumbing? Let’s break it down, so you’re ready to tackle any issues head-on.
- Pipe inspection camera: You need a camera, like the Lenovo Smart Display WiFi Waterproof Camera. It’s essential for spotting hidden damage in those old pipes, which can be a significant issue with ’70s plumbing.
- Pipe wrench: Grab a high-quality pipe wrench, like the RIDGID 31682 2-Piece Pipe Wrench Set. You’ll absolutely need this when loosening any stubborn fittings made back in the day.
- Pressure gauge: A digital pressure gauge, such as the RIGID 10036, is a must-have for measuring water pressure in older pipes. This tool helps you prevent major bursts before they happen.
- Merchant tape: A roll of GDP HIGH-VISIBILITY Marking Tape is crucial for marking spots around the house. This helps keep track of where any significant repairs or spots in the vintage plumbing systems are located.
- Plumbing lubricant: Using PVC or pipe lubricant, like Oatey Blue PVC Pipe Lube, is helpful when working with the older, more rigid joints in those dated systems.
We’ve wrapped up key considerations for 1970s plumbing here. Let us turn our attention to identifying these plumbing systems.
Also See: What is a Manifold in Plumbing? Efficient Water Flow
How to Identify 1970s Plumbing Systems
Let’s dive right into how to identify the type of plumbing used back in the groovy 1970s. It’s not as complicated as it sounds—trust me.
-
Assess the Plumbing Materials
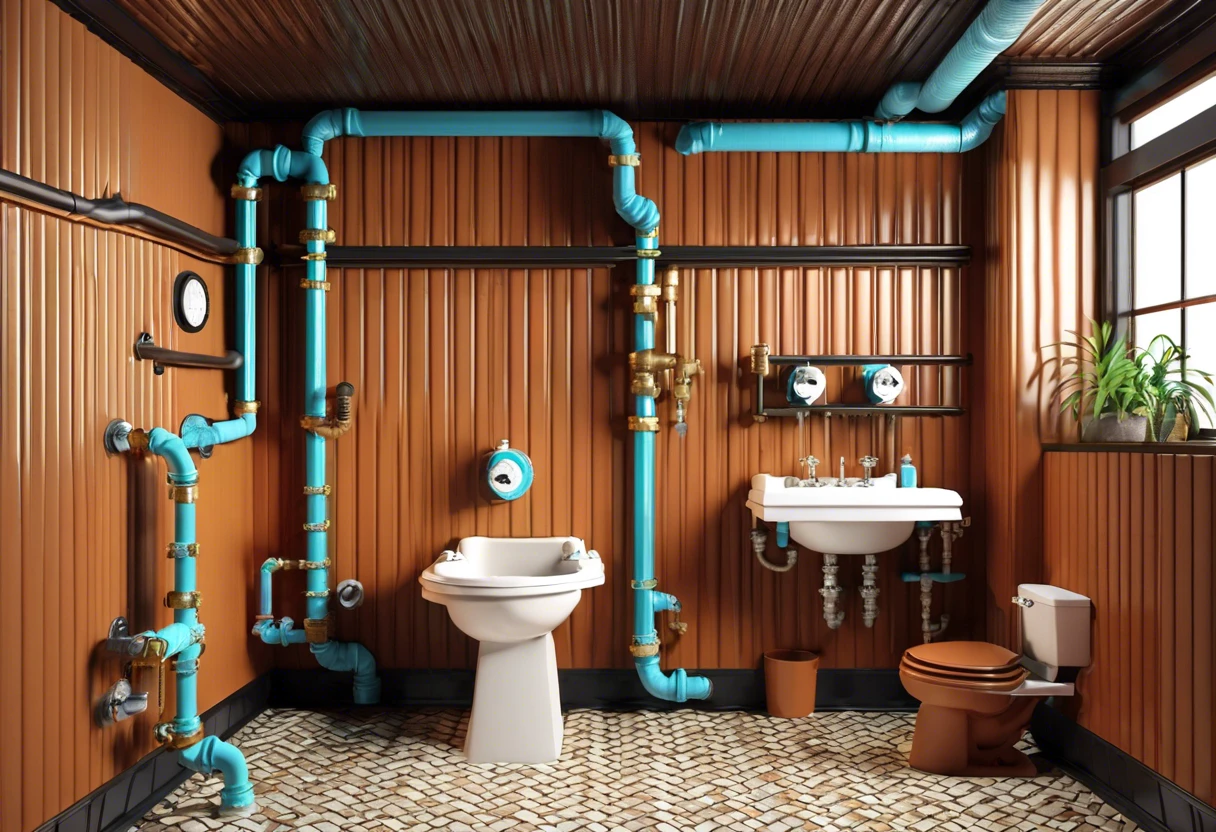
Check out the visible pipes. In the ’70s, you’ll usually find materials like galvanized steel, cast iron, or the new kid on the block, PVC (Polyvinyl Chloride). Galvanized steel pipes often rust on the inside, which can lead to lower water pressure. These pipes typically range from 1/2 inch (1.27 Cm) to 1 inch (2.54 Cm) in diameter.
If you spot polybutylene pipes—the flexible gray plastic ones that came into play in California around that time—get ready for a challenge. They’re notorious for leaks and didn’t age well, sort of like an old vinyl record that skips. When dealing with these problematic pipes, you might need professional guidance on navigating homeowner plumbing permits.
-
Check for Specific Plumbing Fixtures
Take a look at those uniquely styled faucets and showerheads that were popular in that era. You might see acid and galvanized steel connecting your fixtures, with cast iron drains often paired with beautiful ceramic or pink tile, commonly found in Jan’s neighborhood and parts of Northwood.
Just watch out for lightweight tub drains or galvanized traps, which tend to create corrosion and leaks over time. You might be stoked to learn that there was less emphasis on eco-friendly designs back then—bright colors and funky styles were all the rage, totally fitting the Cali vibe!
-
Evaluate the Condition Of the Plumbing
Check the overall health of the plumbing system. Many homes built in the ’70s show significant wear and tear, so look for corrosion on metal pipes or dust accumulation in visible areas. If you’re dealing with older homes in Fountain Valley, keep an eye out for rust.
Be vigilant for water stains on walls or ceilings; those are major red flags for damage. And if you notice any funky smells or leaks, they’re usually strong indicators that the plumbing has aged poorly over the decades.
Pro Tip: A creative epoxy patch can be a lifesaver for smaller rust spots, giving old metal pipes a fighting chance before you face a costly replacement. Just keep it subtle, of course—we live in amazing Irvine, after all!
We’ve wrapped up identifying plumbing systems from the 1970s here. Let us turn our attention to the costs of replacement or repair.
How Much Does 1970s Plumbing Cost for Replacement or Repair?
So, you’re looking at costs that can range between $2,500 and $10,000, depending on the specific repair job or replacement you need. For instance, fixing a leaky pipe could set you back around $200 to $500. Make sure you budget an extra 10-20% for unanticipated costs, like the need for updated materials if codes have changed. Based on my experience in homes around Irvine, including some historical repairs, I recommend budgeting closer to $7,500 for a full overhaul and allowing around two weeks for completion. DIYing it could shave off labor costs, but it might add some uncertainty, especially if you’re a novice! When you’re ready to tackle your plumbing project, you might want to get professional plumbing assistance.
Cost Breakdown Of 1970s Plumbing Replacement/repair
| Type of Repair/Replacement | Cost Range (USD) | Notes |
|---|---|---|
| Pipe Replacement | $2,500 – $7,000 | Includes materials & labor |
| Drain Repair | $200 – $800 | Price varies by extent of damage |
| Water Heater Replacement | $800 – $2,500 | Age can mean upgrades are needed |
| Fixture Replacement | $150 – $600 | Taps, toilets, etc. |
| Misc. Repairs/Upgrades | $100 – $500 | A couple of unexpected fixes |
We have now covered the costs of replacing or repairing 1970s plumbing. Next, we will discuss factors influencing plumbing choices from that era.
What Factors Affect Plumbing Choices in the 1970s?
So, what factors influenced plumbing materials and practices during this notable era?
-
Material Advances: The discovery and promotion of PVC (Polyvinyl Chloride) introduced more affordable and flexible plumbing options, transforming installations. When dealing with complex pipe systems, professional plumbers often recommend specific techniques for maintaining these modern materials and preventing potential blockages through professional drain snaking services.
-
Building Codes: Changes in California building regulations pushed for safer and more efficient plumbing systems, significantly impacting construction practices.
-
Affordability: Economic trends led to a rise in low-cost materials like copper and galvanized steel for various piping applications in homes.
-
Consumer Trends: A shift towards enhancing residential comfort made pipe insulation and modern fixtures more desirable, changing installation aesthetics.
We have now covered the factors influencing plumbing choices in the 1970s. Next, we will explore the impact of plumbing regulations on installations.
How Plumbing Regulations Impacted 1970s Installations
The regulations during the 1970s played a crucial role in shaping plumbing systems. Let’s explore what was happening on the regulatory front back then.
Key Regulations in the 1970s
Several important codes and standards emerged to guide residential plumbing system designs:
- Uniform Plumbing Code (UPC): Introduced in 1976, the UPC set specific standards for materials and installation practices, ensuring safer plumbing systems across California.
- Water Efficiency Standards: Initiatives began promoting water conservation due to emerging environmental concerns in the late ’70s, influencing modern plumbing designs you’ll see today.
- Material Safety Codes: New requirements mandated the use of safe plumbing materials to protect the public from harmful toxins—an important step as concerns about lead in plumbing fittings began rising.
Shifts in Plumbing Materials During the 1970s
An interesting aspect of 1970s plumbing is how material preferences started to shift due to regulation changes.
Comparative Overview of Plumbing Materials
| Material Type | Usage (% of Houses) | Strengths | Weaknesses |
|---|---|---|---|
| Copper | 45% | Durability, corrosion resistance | Costly, difficult to install |
| Galvanized Steel | 30% | Strength, overall integrity | Rusting, limited lifespan |
| PVC | 15% | Cost-effective, lightweight | Temperature sensitivity, not suitable for hot water |
| Polybutylene | 10% | Affordable, flexible | Prone to leaks, quick deterioration |
The Influence of Environmental Awareness in the 1970s
As environmental concerns started to gain traction in the 1970s, plumbing systems began reflecting those values. Here’s how:
- Water Conservation: Efforts began to develop low-flow fixtures which would eventually lead to the eco-friendly plumbing standards we have today.
- Material Sustainability: The rising consciousness about environmental impacts pushed manufacturers to explore safer and more eco-compatible materials, especially after regulations tightened up.
- Energy Efficiency: Consumers started to look for plumbing options that helped reduce energy usage, paving the way for advancements in water heater technologies and insulation.
Special Considerations When Dealing With 1970s Plumbing
This section highlights some unique challenges with plumbing from the 1970s.
- Pipe Material: Many homes from this era used galvanized steel pipes. Expect rust, especially if water’s been running through them for decades. In most cases, replace these with PVC (Polyvinyl Chloride) or copper pipes.
- Pressure Issues: Older fixtures often see inconsistent water pressure. Check for calcification (Buildup) in aerators. You might get flows under 1.2 gallons per minute (4.5 Liters Per Minute).
- Old Fixtures: 1970s plumbing may contain outdated faucets and toilets. Replace them with new water-efficient models that comply with California’s regulations—look for toilets that use under 1.28 gallons (4.8 Liters) per flush!
- Sewage Venting: Check vent stack sizes, typically 3 to 4 inches (7.6 To 10.2 Cm), to ensure proper drainage and avoid nasty sewer gas entering your home.
- Integrated Plumbing Systems: Back in the day, plumbing pipelines in multiple multi-story units were often unwisely mixed. These can lead to cross-connections. You’ll want to identify stand-alone systems to fix or isolate leaks more easily.
When to Consult Experts for 1970s Plumbing Issues
If you’ve got a home that could’ve starred in a retro film, you might wanna consider chatting with an expert. Plumbing in the 1970s often faces unique issues like corroded pipes or funky joints that just can’t keep up, my friends. Seriously, if you notice leaks, low water pressure, or constant clogging around the house, those are your flashing warning lights to alert the pros.
When searching for expertise, look for someone who knows Pacific Standard rules and has experience specifically with troublesome 1970s systems like cast iron, galvanized steel, or funky Polybutylene. I’ve met many technicians in the OC, but the ones who really rock are those familiar with local codes, which can get super picky.
Your on-hand helper should also come with reviews—good ones! Check out references like Yelp or Google—those can sometimes save you from hiring a real bummer. Keep an eye out for plumbing shenanigans like strange noises in the walls, mold forming under sinks, and rusty water. These red flags can mean it’s time to pull the trigger on consulting an expert because, trust me, trying to save a few bucks can sometimes bite back a whole lot harder. When you’re ready to tackle complex plumbing challenges, installing a pressure tank requires professional expertise to ensure proper setup and functionality.
FAQ
What Type Of Pipes Were Used in the 1970s?
In the 1970s, you’d see a lot of copper, galvanized steel, and cast iron pipes used in plumbing. Copper was favored due to its malleability and resistance to corrosion, whereas galvanized steel was often used for its strength, although it may rust over time.
What Type Of Plumbing Was Used in 1972?
In 1972, plumbing systems primarily consisted of copper, PVC, and some steel piping. Copper was already a popular choice due to its durability and long lifespan, and PVC began to rise in popularity as a more affordable alternative over time. If you want to dive deeper into the initial stages of plumbing installation, check out the basics of rough plumbing.
What Type Of Plumbing Was Used in 1975?
By 1975, plumbing still relied heavily on copper, while starting to embrace PVC. The flexibility of PVC allowed homeowners to save on installation times and costs compared to traditional piping materials. When unexpected pipe issues arise, knowing how to handle critical plumbing emergencies quickly becomes essential for preventing potential home damage.
When Did Plumbing Switch to PVC?
Plumbing started transitioning to PVC piping in the late 1970s, reaching wider adoption in the 1980s. This shift happened because PVC is lighter, easier to install, and more resistant to corrosion and chemicals—features that made it a go-to material for plumbing. When working with PVC pipes, it’s crucial to know the right soldering techniques to ensure secure connections and prevent potential leaks. Professional plumbers recommend specific soldering methods.
What Are the Common Issues in 1970s Plumbing?
Common issues with 1970s plumbing include potential lead contamination from older fittings and corrosion in galvanized pipes. If your home still relies on these outdated materials, you might face leaks or a decline in water quality. Plumbers often use specialized advanced pipe distribution systems to address these structural challenges effectively.
Is Copper Plumbing Still Viable?
Yes, copper plumbing is still highly viable today. Its great heat resistance and longevity make it an excellent choice for hot water systems, which is why I still install it regularly around Irvine. Copper has been a staple in residential plumbing for decades, with its historical significance tracing back to early indoor plumbing innovations.
Final Thoughts on 1970s Plumbing and Its Modern Implications
We’ve gone through a lot; thank you for sticking with us. We covered the common plumbing systems of the 1970s, how to identify them, the implications of materials such as cast iron and PVC, factors influencing plumbing choices, costs of repairs or replacements, and the right time to consult experts.
In simple terms, the plumbing prevalent in the 1970s mainly consisted of cast iron, steel, and PVC pipes. Remember, regular maintenance can save you time and money. If you’re unsure where to start, I’m here to guide you through your plumbing needs.
For more articles and the latest updates, feel free to return to our homepage at Irvine Plumbers.
Additional Resources
- Irvine Ranch Water District (IRWD) – https://www.irwd.com
- The Most Common Types of Plumbing Pipes Used in Homes
- House Plumbing Systems Through The Years
- Was your home built before 1975? – Scotto’s Plumbing
Also See: What Does Rough Plumbing Mean? Understand the Basics
