How to Loosen Plumbing Pipes?
Last Updated: February 27, 2025
Plumbing pipes are like super long straws that carry water to and from your house! They help your faucets and toilets work, so you can have water for drinking and washing.
When I’m out on a job, customers often ask me how to loosen plumbing pipes, especially when they’re dealing with leaks or repairs. I’ve dealt with it firsthand, and I’m here to help you understand the process so you can tackle it like a pro.
This guide will cover basic plumbing pipe info, tips before you start loosening them, costs involved, factors that affect difficulty, special considerations, and when to call a pro for help.
Table of Contents
- How to Loosen Plumbing Pipes?
- What Are Plumbing Pipes?
- Before You Start Loosening Plumbing Pipes
- Common Causes of Stuck Plumbing Pipes
- Step-by-Step Guide to Prepare Stuck Plumbing Pipes
- Difference Between Various Joint Types
- Understanding Joint Sealing Methods
- Techniques for Loosening Specific Pipe Materials
- How to Loosen Plumbing Pipes
- What Factors Affect the Difficulty Of Loosening Plumbing Pipes?
- Special Considerations When Loosening Plumbing Pipes
- When to Call for Expert Help to Loosen Plumbing Pipes?
- FAQ
- Final Words on How to Loosen Plumbing Pipes
- Additional Resources
How to Loosen Plumbing Pipes?
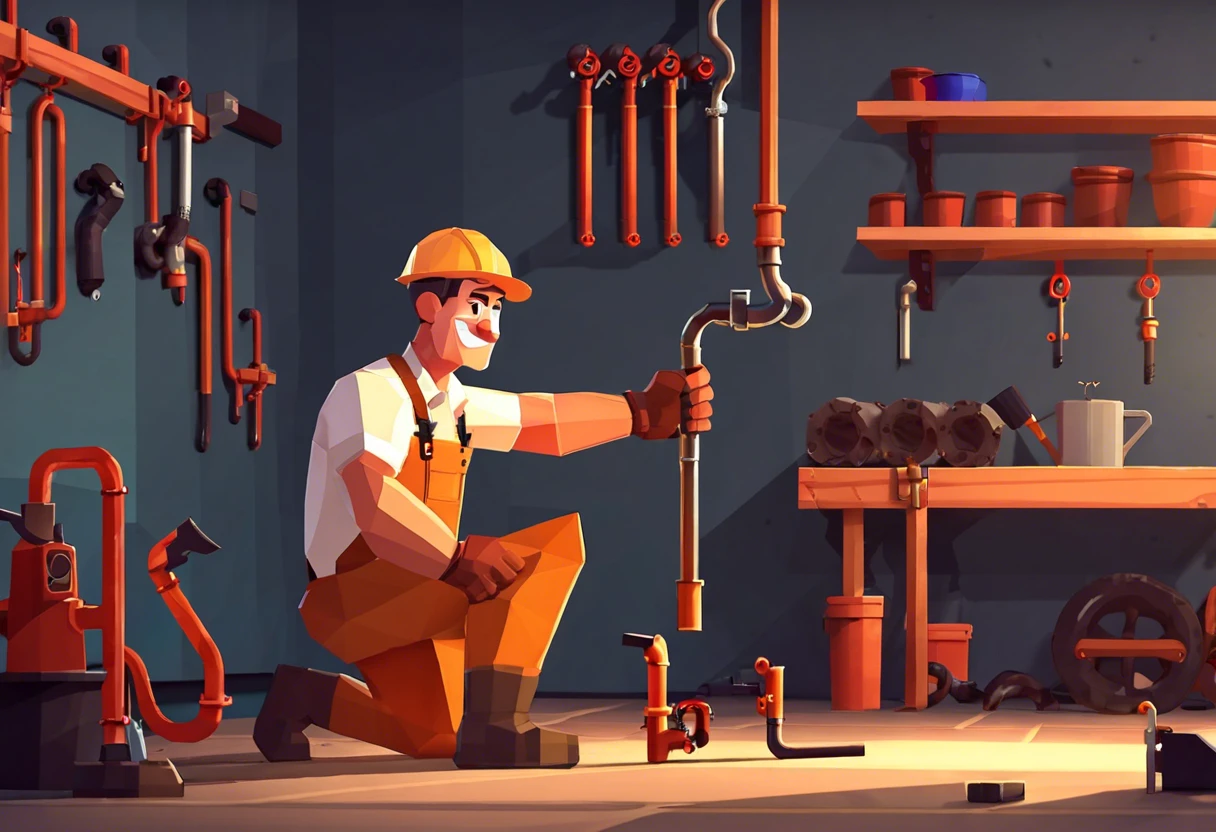
To loosen plumbing pipes, use a pipe wrench for grip and leverage. If they’re stuck, soak the joints with penetrating oil for about 30 minutes. Apply heat gently with a propane torch. Always handle with care to avoid damage.
What Are Plumbing Pipes?
Plumbing pipes are essential components that transport water and waste in your home. They come in different materials like PVC (Polyvinyl Chloride), copper, and PEX (Cross-linked Polyethylene), each offering unique benefits. For example, PVC pipes are lightweight and resist corrosion, while copper pipes are fantastic for heat absorption and long-lasting durability. You’ll find these pipes in various sizes, ranging from ½ inch (12.7 Mm) to 4 inches (101.6 Mm) in diameter, depending on their specific use within the plumbing system. Proper pipe connections are crucial to prevent potential cross-connections in plumbing systems.
One way I’ve used them is for tightening and loosening plumbing pipes during emergency repairs. When pipes become stuck due to corrosion or over-tightened connections, it can be hella frustrating. Tactics like using a pipe wrench can be super helpful here, with costs ranging from $15 to $40 (USD) for a good-quality one. You’ll see that learning how to loosen plumbing pipes brings peace of mind, keeping you stoked during your DIY plumbing adventures while avoiding damage to the surrounding fixtures.
Before You Start Loosening Plumbing Pipes
What do you need to get rolling? Here’s your quick rundown.
- Pipe Wrench: You’re gonna need a solid pipe wrench, like the RIDGID 81407 (For Pipes Up to 30 Cm / 12 Inches). It’s essential for the torque you’ll apply on those stubborn joints.
- Pry Bar: Grab a pry bar, such as the Stanley 55-007 (About 61 Cm / 24 Inches). This tool helps create leverage for those rusted pipes—or those tight wraps that just won’t budge!
- PTFE Tape: Buy some PTFE tape, like the Oatey Professional. You’ll need roughly 25 meters (80 Feet) to wrap those threads after loosening to avoid leaks when putting things back together!
- Lubricant: Choose a penetrating oil, like WD-40 (300 Ml Can). It’s vital for loosening rusted fittings. Trust me, I’ve been down this road before!
- Safety Goggles: Pick up some ANSI Z87 certified safety goggles—especially when working in cramped spaces. Your eyes gotta stay safe during all those sparks and wrench slips!
So far we covered tips for loosening plumbing pipes. Let’s look at the common reasons pipes get stuck next.
Also See: How Much is a Plumber to Unclog Toilet in Irvine?
Common Causes of Stuck Plumbing Pipes
Understanding why plumbing pipes get stuck can help you avoid issues down the line. Here are some common culprits:
- Corrosion: Over time, pipes can rust, particularly in older homes around Irvine. Galvanized steel pipes often corrode where the fittings meet, leading to stubborn joints that are hella tough to loosen.
- Sealant Deterioration: If you’ve used sealants or adhesives, they may become hard or brittle. This can create a bond between the pipes that turns into a challenge when you’re trying to loosen them.
- Two Different Materials: Mixing pipe types like copper and PVC can lead to issues. Different expansion rates can make joints seize tight over time.
- Improper Installation: If pipes were installed without considering temperature changes or simply too tight, you’ll find loosening them can be a serious struggle as they expand and contract with our Cali heat!
That covers common causes of stuck plumbing pipes. Let’s now take a look at the step-by-step guide to prepare them.
Step-by-Step Guide to Prepare Stuck Plumbing Pipes
Getting your plumbing pipes ready to loosen can save you a ton of hassle! Follow these easy steps:
-
Clear the Area
Make sure you have enough space to work. Remove any items around the pipes, especially if you’re under a sink or in a tight corner in your Irvine home. You don’t want to add any extra obstacles! If you’re considering expanding your professional skills, you might want to explore owning a multi-trade business.
-
Inspect for Damage
Look closely at the fittings and joints for signs of damage or wear. If you see cracks or rust, it might be worth replacing the parts instead of just loosening them.
-
Apply Lubrication Early
Before you even touch the wrench, spray or apply penetrating oil generously to the joints. Let it sit! Give it at least 15 minutes to really soak in. This can change the game when tackling stubborn pipes.
-
Use Heat Wisely
For metal pipes, use a heat gun or propane torch lightly along the joint, but watch out! Don’t overdo it. A few seconds might be plenty to help loosen it without damaging anything.
-
Establish Good Grip
Use a pipe wrench or adjustable wrench to establish a firm grip. I can’t stress enough how important it is to apply even pressure—not too tight, or you could strip the fittings.
That covers the step-by-step process for fixing stuck plumbing pipes. Let’s now take a look at the differences between joint types.
Difference Between Various Joint Types
Different plumbing joints require different techniques. Here’s a quick reference table to help you identify them:
| Joint Type | Description | Common Issues |
|---|---|---|
| Compression Joint | Uses a ring to seal connections by compressing against the pipe. | Can loosen over time due to vibration. |
| Soldered Joint | Used in copper pipes where joints are melted together with solder. | Heating can ruin joint integrity, careful with heat! |
| Threaded Joint | Pipes are screwed together. Common in multiple pipe types. | Rust or dirt on threads can create tight spots. |
| Slip Joint | Allows for a connection that is adjustable especially in traps. | Can leak if not tightened appropriately. |
You should now have a good understanding of the distinctions among joint types. In the next part, we’ll discuss joint sealing methods.
Understanding Joint Sealing Methods
Different joints use various sealing techniques that might affect how easily you can loosen your pipes.
- Threaded Sealing: Common in metal pipes, ensure there’s no debris or corrosion. These joints often screw together, so clean threads with wire brushes for better grasp.
- Soldered Joints: Found in copper pipes, these require heat to loosen. It might be tricky, so practice caution here. Even a bit of excess heat can compromise integrity!
- Slip Joint Sealing: Typically used in trap fittings, these can often be easily undone by hand. Just be mindful of the surrounding waste connections when loosening!
- Compression Fittings: Used in PEX, these require a little twist in the right way. Applying moisture can also help to get that tight seal to pop off easier.
Techniques for Loosening Specific Pipe Materials
Each plumbing material interacts differently when trying to loosen fittings. Here’s how to tackle them effectively.
| Pipe Material | Recommended Techniques | Estimated Time to Loosen |
|---|---|---|
| PVC | Use heat from a heat gun sparingly, followed by twisting; very gently! | 10-15 minutes |
| Copper | Heat the joint but do it carefully; too much can damage it. A wrench helps too. | 15-25 minutes |
| Galvanized Steel | Apply penetrating oil and then use a pipe wrench for significant torque. | 20-30 minutes |
| PEX | Pry gently; apply a slight twisting motion with your hands or a wrench. | 5-15 minutes |
How to Loosen Plumbing Pipes
Now, let’s cover the essential steps to loosen plumbing pipes easily and effectively.
-
Identify the Type Of Pipe
Before diving in, figure out whether you’re dealing with PVC, metal, or copper pipes. I’ve been in this business long enough to know that different materials need different approaches—PVC can flex, while metal is usually tougher to manipulate.
Make sure you know the pipe type; fittings on PVC pipes typically work differently than those on galvanized pipes. Modern systems can mix materials too, which might leave some homeowners in a bit of a pickle with their toolbox. If you’re unsure about handling unexpected plumbing complications, you might want to recognize the signs of a critical plumbing emergency.
-
Assess the Situation
Take a good look at where the pipe connections are. Check for any leaks, corrosion, or issues because each condition calls for different methods to loosen the pipe.
Identifying the damage can help tailor your strategy. If those approaches don’t work and corrosion is present, don’t hesitate to bring in some power tools.
-
Apply Lubricant As Needed
Using a penetrating lubricant can work wonders for freeing stuck pipe fittings. One product I trust is PB B’laster—give it about ten to fifteen minutes to work its magic on the threads.
Apply it generously but avoid making a mess—nobody likes greasy hands or streaks of errant lubricant! Keep an eye on the area; large jobs around Booty Canyon Labs often benefit from this step.
-
Use Heat for Stubborn Connections
If the pipes won’t budge, consider gently heating the joint. You can use a heat gun or propane torch on metal pipes, but be super careful around PVC piping.
Heat can cause the fittings to expand and may loosen the joint without compromising the integrity of the surrounding plumbing. In the sun-soaked Irvine atmosphere, that warmth can really help your efforts! If you’re worried about potential plumbing overcharges, you might want to protect yourself from unexpected costs.
-
Loosen the Pipe With Gentle Torque
Once you’ve prepped the fitting, use a pipe wrench to apply torque evenly. I advise against quick, frantic movements; remember, slow and steady wins the race.
Control is key—use back-and-forth tension while avoiding stripping the fittings. During refresher sessions around La Isla Pacific, keep in mind—taking it easy minimizes damages!
Pro Tip: Sometimes, standing back and strategizing can help more than just fumbling around in a hurry. Take a break, hydrate, and return stoked to tackle your plumbing. If you’re unsure about specific septic treatments, check out safe plumbing maintenance techniques.
What Factors Affect the Difficulty Of Loosening Plumbing Pipes?
So, what factors influence your ability to loosen those plumbing snags?
-
Pipe Material: Metals like galvanized and rusted pipes are tougher to unfasten than PVC (Polyvinyl Chloride).
-
Chemical Exposure: Corroded or rusted connections can seize components, making loosening a challenge.
-
Space Constraints: Tight spots under sinks make it harder to apply leverage for loosening pipes.
-
Tools Available: Without the right tools, like a pipe wrench, loosening pipes can become much more difficult.
Special Considerations When Loosening Plumbing Pipes
This section highlights some technical factors to keep in mind while loosening plumbing pipes.
- Check for Mineral Buildup: If your pipes are older, you might find mineral deposits (Like Calcium or Rust) near the fittings. These can make loosening pipes trickier. Try using vinegar (A 10-20% Solution) to dissolve it before attempting to loosen them.
- Pipe Material Matters: PVC, copper, and galvanized steel require different approaches. Copper pipes might need a finer touch; for example, don’t overheat them if you’re using a torch (Wrench Heat). Always wear safety glasses, especially when working with steel pipes (A 2.5 Cm Minimum Wrench is Recommended).
- Temperature Changes: Differential expansion helps here. If stuff’s stuck, heat the fitting with a heat gun for no more than 2-3 minutes (150–200°F or 65-93°C). Let it cool briefly before trying to twist it off.
- Disconnect the Water Supply: This is KEY! Make sure there’s absolutely no pressurized water in the system (Trust Me, Human Error Isn’t Fun). After shutting it off, drain any standing water – it’ll save you from unexpected sprays!
When to Call for Expert Help to Loosen Plumbing Pipes?
Hella frustrations can arise when you’re struggling to loosen those plumbing pipes. You should call in a pro if things start to crank up in difficulty or if you notice any major rust. Look for a local plumber with glowing reviews—someone who knows the Irvine scene is always a solid choice. Trust me, I’ve been in messy situations before where refusing to call for help just made the issue worse. It’s all about expertise and experience when things get stubborn. If you’re wondering about the complexities of home plumbing repairs, homeowner plumbing system challenges can quickly become overwhelming.
Watch out for anyone giving vague estimates; you want someone with a similar neighborhood vibe, a real sense of trust. Finding reliable help? Well, that’s literally half the battle! So back off, let them handle the tough stuff, and sit back while you dream of trouble-free pipes. If you’re serious about professional plumbing work, you might want to explore how to obtain a plumbing license in Irvine.
FAQ
What Tools Do I Need to Loosen Plumbing Pipes?
You need a few key tools to loosen plumbing pipes effectively. A pipe wrench, adjustable wrench, and penetrating oil are essential items for the job. Using the correct tools makes a huge difference in your ability to grip and rotate pipes without stripping them.
Is It Safe to Use Heat on Plumbing Pipes?
Yes, it can be safe to use heat on plumbing pipes, but caution is key. Applying heat with a torch can help. Just remember to take care not to overheat or damage the surrounding material, as serious injuries can arise without proper precautions.
Can I Loosen Plumbing Pipes Without Professional Help?
Absolutely, you can loosen plumbing pipes without professional help. As a DIYer, you just need the right tools and info. Many homeowners find that with persistence and a good daily steez, they can tackle stuck pipes without breaking budgets or calling anyone in. If you’re curious about the historical evolution of pipe connections, plumbing techniques from the 1980s offer fascinating insights into how residential repairs have transformed.
What Are the Signs That Plumbing Pipes Are Stuck?
Signs that plumbing pipes are stuck include resistance when trying to turn them in either direction. You’ll often hear creaking or cracking sounds, and sometimes they feel physically outdated as you try to spin or twist them. If you’re feeling hella frustrated, it’s time to intervene. When dealing with stubborn pipes, it’s crucial to recognize potential risks of cross-connection problems.
How Long Does It Typically Take to Loosen Plumbing Pipes?
Usually, it can take around 20 to 30 minutes to loosen plumbing pipes, depending on how tightly they’re stuck. If you put in the extra time to prepare the area with penetrating oil beforehand, you could drastically decrease that time. With patience, you can make sure everything’s solid. When working with complex pipe connections, knowing the specific technical requirements can help streamline your repair process VTR plumbing techniques provide additional guidance for precise pipe management.
How Can I Avoid Stuck Plumbing Pipes in the Future?
To avoid stuck plumbing pipes in the future, regularly check and maintain your pipelines. Preventive measures like applying anti-seize products every few years can reduce the chances of bolts bonding tighter than an overly-wrapped burrito. When dealing with complex plumbing terminology, you might wonder about specific technical acronyms like CTS in plumbing systems. Stay ahead of the game and keep life suave.
Which Way Should I Turn Pipes to Loosen Them?
You should turn pipes counterclockwise to loosen them. It seems pretty universal, but not all threads follow standard. Keep that in mind; if they’re rusted, reversing direction might confuse your goals. Test which way works for your specific setup!
What if the Plumbing Fittings Keep Slipping While Trying to Loosen Them?
If plumbing fittings keep slipping while loosening, a pipe wrench would be handy here. This tool provides a tighter grip, giving you better control. No one wants accidents or tight situations; learning how to adapt ensures no unwanted leaks mess with your hard-earned savings! When dealing with complex plumbing challenges, you might encounter unexpected water pressure problems in ceilings.
Final Words on How to Loosen Plumbing Pipes
I’m glad we could cover this together. We explored essential plumbing basics for DIY projects, including understanding plumbing pipes, considerations before starting, associated costs, and factors that may complicate the task.
Hopefully, I was able to share insights from my 15+ years in the plumbing industry on how to loosen plumbing pipes. If you find yourself in a challenging situation, feel free to explore our services.
For more information and resources, visit Irvine Plumbers, where we are committed to providing you with the latest technical expertise.