How to Plumb in a Pressure Tank?
Last Updated: February 27, 2025
A pressure tank is a special container that holds water. It helps keep water flowing from your pipes without stopping.
One of the most common plumbing dilemmas I’m asked about is how to install a pressure tank. I’ve tackled this myself plenty of times, and I’m here to share my experience with you!
In this guide on how to plumb in a pressure tank, we’ll cover what a pressure tank is, essential preparations, step-by-step plumbing instructions, costs, and when to consult a pro, all related to pressure tanks and you.
Table of Contents
- How to Plumb in a Pressure Tank?
- What is a Pressure Tank?
- Before You Start: Essential Preparations for Plumbing a Pressure Tank
- How to Plumb in a Pressure Tank
- How to Choose the Right Pressure Tank for Your Home?
- Adjusting Pressure Settings on Your Pressure Tank
- Common Tools for Maintaining a Pressure Tank
- Common Questions About Pressure Tank Plumbing
- How Much Does It Cost to Plumb in a Pressure Tank?
- What Are the Factors Affecting the Costs Of Plumbing a Pressure Tank?
- Special Considerations When Plumbing a Pressure Tank
- When to Consult an Expert for Plumbing a Pressure Tank
- Pressure Tanks and You
- Final Words: Ensuring a Successful Pressure Tank Installation
- Additional Resources
How to Plumb in a Pressure Tank?
To plumb in a pressure tank, start by shutting off the water supply. Connect the tank to your plumbing system using threaded fittings and pipe sealant. Ensure it’s properly positioned and then restore the water supply to test for leaks. Adjust the tank pressure as needed to match your system. When working with complex pipe connections, you might want to explore reducer fitting techniques to optimize your installation.
What is a Pressure Tank?
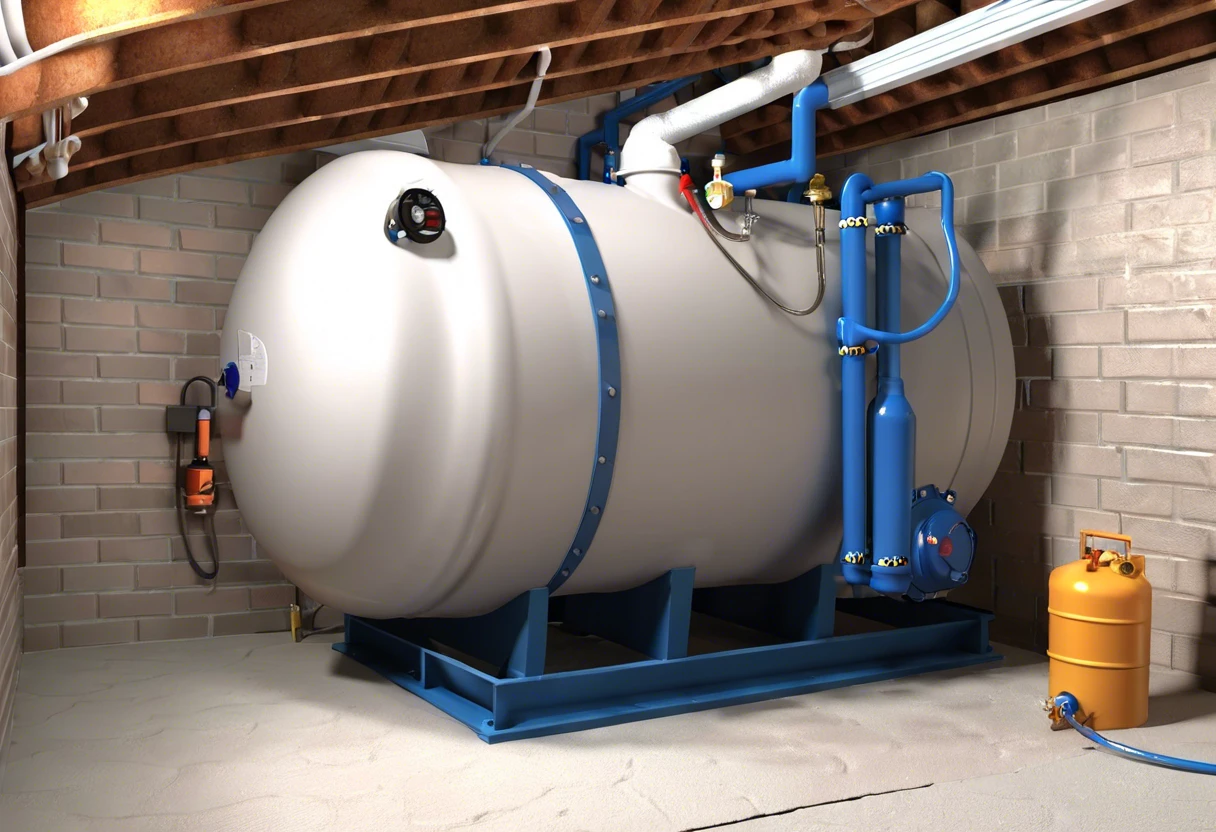
A pressure tank is a crucial component in your home’s water system. It stores water under pressure, usually around 40 to 60 psi (Pounds Per Square Inch), helping deliver water when you open a faucet. It works by using a diaphragm, which separates air and water within the tank, creating a cushion of air that allows for consistent pressure. A standard residential pressure tank has a capacity of about 20 to 100 gallons (75 to 378 Liters), depending on your household needs, and its lifespan can reach 15 years or more with proper maintenance.
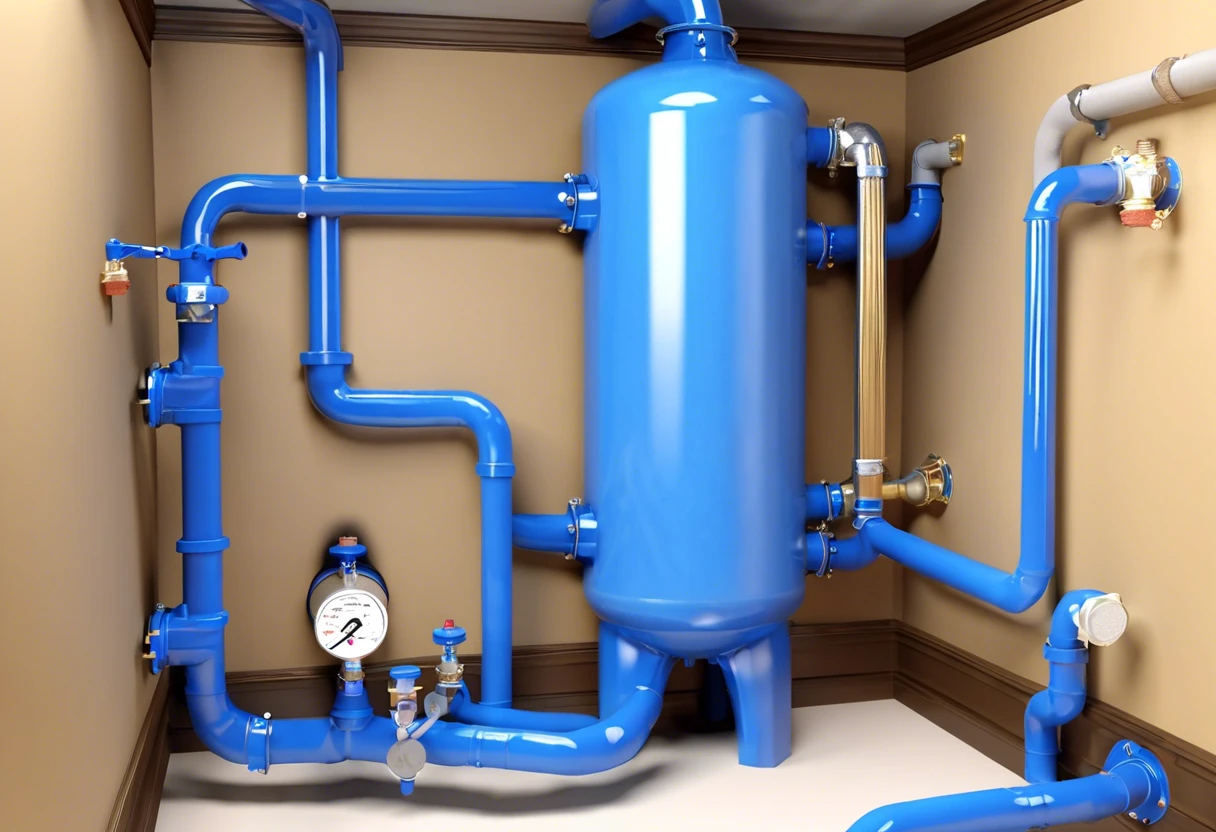
I had a friend who used one when they needed help with a sluggish well pump. They quickly learned how to plumb a pressure tank perfectly by following a straightforward diagram. To plumb a pressure tank, you connect it to your well pump and the distribution system seamlessly. If you need to install a new one, remember the average cost of a pressure tank is around $300 to $600, plus installation fees. You want to set the right pressure setting to keep your water consistent throughout your home. If done right, you’ll protect your pump and enjoy hassle-free plumbing!
Before You Start: Essential Preparations for Plumbing a Pressure Tank
What do you need to tackle this job seamlessly?
- Pipe Wrench: You need a reliable pipe wrench, like the RIDGID 81007 24-inch model. It’s crucial for gripping and turning heavy pipe fittings securely when plumbing in the pressure tank.
- Pressure Gauge: You’ll benefit from a high-accuracy pressure gauge, such as the Zurn Wilkins SIVS-050. It’s key for monitoring the tank’s psi (Pounds Per Square Inch) to avoid any over-pressurization, ensuring everything runs smoothly.
- Pressure Tank Installation Kit: Consider the Carter’s Pressure Tank Install Kit, which typically includes connectors, fittings, and more. This kit saves time and helps seal connections properly, preventing future leaks.
- Pipe Sealant: Don’t skip on strong pipe sealant, like Oatey Great Blue. It helps create leak-proof joints that are essential for a pressure tank setup, avoiding messy, unexpected leaks later on.
That covers essential preparations for plumbing a pressure tank. Let’s now take a look at the plumbing process for a pressure tank.
Also See: What is Plumb Gold? Learn Its Importance in Plumbing

How to Plumb in a Pressure Tank
Now, let’s dive into the steps to effectively install a pressure tank for your home plumbing needs.
-
Select the Ideal Location for the Pressure Tank
Pick a dry, level area nearest to your water source where temperatures usually stay above freezing. You’ll need at least 3 feet (About 92 Cm) of clearance around the tank for maintenance access.
Your chosen spot should be away from potential flooding and easy to reach, but if you like a cleaner yard look, keep it out of sight. Make sure the pressure tank sits on a sturdy surface so it won’t shift around.
-
Install the Pressure Tank
Connect the inlet pipe from your well pump to the tank’s inlet on top, using approved fittings like PVC or brass. Wrap Teflon tape on threaded joints to prevent leaks; this is key for maintaining system pressure over time.
Tighten all connectors securely. And hey, if it’s winter when you tackle this job, be sure to set it up to ensure your pressure tank operates like it’s in the heart of sunny Cali.
-
Configure the Pressure Switch
The pressure switch attached to your pressure tank should be adjusted to your desired settings. The typical preset is between 30-50 PSI (2.1-3.4 Bar), but tweak this based on your specific system needs.
It’s super important to have the right pressure settings for efficiency. Lower settings may lead to pump cycling, while too high could risk system damage. Check the manufacturer’s specs and adjust as needed.
-
Test the System
After installation, turn on your pump and watch closely for any leaks around the joints and fittings. Check the gauge to ensure the water pressure hits your desired reading within a minute after activation.
If you see fluctuations or leaks while pumping, you might need to tighten connections or take extra measures to address any issues. Keep a rebuild kit handy just in case!
Pro Tip: I’ve been in this line of work for a while, and I can tell you that keeping a few extra fittings around really saves time and hassle later on.
We covered installing a pressure tank, connecting pipes, and checking for leaks here. We will now cover selecting the right tank.
How to Choose the Right Pressure Tank for Your Home?
Finding the right pressure tank can make all the difference in your plumbing experience.
- Consider Your Water Usage: Think about how much water you typically use. Larger households may require bigger tanks (40-80 gallons or 151-303 liters).
- Storage Style: Decide between a bladder tank and a diaphragm tank. Bladder tanks are more common for residential use due to their efficiency.
- Tank Durability: Look for tanks with a long lifespan, ideally 15 years or more. High-quality materials can save you $$ down the road.
- Manufacturer Reputation: Choose well-known brands recognized for quality, like Amtrol or Well-X-Trol.
So far we covered selecting the appropriate pressure tank for your home. Let’s look at adjusting the pressure settings next.
Adjusting Pressure Settings on Your Pressure Tank
Setting the right pressure is crucial for efficient operation and longevity.
- Check the manufacturer’s recommendation for pressure settings.
- Use a pressure gauge to see current tank pressure.
- Adjust the pressure switch by following these steps:
- Locate the adjustment screws on the pressure switch.
- To increase pressure, turn the screw clockwise; to decrease, turn it counterclockwise.
- Test the system to ensure the new settings maintain the desired pressure.
So far we covered how to adjust pressure settings on your pressure tank. Let’s look at the tools needed for maintenance next.

Common Tools for Maintaining a Pressure Tank
Keep these handy for smooth maintenance of your pressure tank.
| Tool | Purpose | Recommended Brand |
|---|---|---|
| Pressure Gauge | Monitor tank pressure | WIKA or Zurn |
| Teflon Tape | Seal threaded joints | Oatey |
| Pipe Wrench | Unscrew fittings | RIDGID |
| Air Compressor | Pre-charge air to tank | PORTER-CABLE |
Common Questions About Pressure Tank Plumbing
Let’s tackle some of the questions that pop up when you start plumbing in a pressure tank.
Can I Use My Existing Plumbing with a New Pressure Tank?
Using your existing plumbing is often possible, but you’ll want to check the compatibility of your current system with the new tank’s specifications. Old pipes may affect pressure or require upgrades. If you’re unsure about your home’s pipe materials, local plumbers can help you identify the specific pipes in your Irvine home.
How Do I Determine the Right Size Pressure Tank for My Home?
The right size depends on your household water usage. As a general guide, calculate a demand of about 1.5 gallons (5.7 liters) per minute for each fixture in your home.
- Example: For a home with 3 bathrooms, a kitchen, and a laundry, you’d calculate:
- 3 (bathrooms) x 1.5 gal/min = 4.5 gal/min
- 1 (kitchen) x 1.5 gal/min = 1.5 gal/min
- 1 (laundry) x 1.5 gal/min = 1.5 gal/min
- Total: 4.5 + 1.5 + 1.5 = 7.5 gal/min
This demand suggests a tank with a capacity of around 40 to 60 gallons (151 to 227 liters) for peak use.
How Often Should I Replace My Pressure Tank?
Generally, you should consider replacing your pressure tank every 15 years, but keep an eye on performance. If you notice leaks, rust, or pressure inconsistencies, it might be time for a change sooner.
| Tank Age | Signs of Replacement | Recommended Action |
|---|---|---|
| 0-5 Years | No issues | No action needed |
| 6-10 Years | Minor pressure issues | Inspect every year |
| 11-15 Years | Leaks or inconsistent pressure | Consider replacement |
| 15+ Years | Frequent issues | Replace immediately |
What is the Lifespan of a Pressure Tank?
Typically, a well-maintained pressure tank can last up to 20 years—or more! Regular maintenance is the key to longevity and keeping everything in the sunny side of Irvine.
How Much Does It Cost to Plumb in a Pressure Tank?
When it comes to adding a pressure tank, you’re looking at costs between $300 and $2,000. This estimate includes the tank, fittings, and if you opt for professional installation, labor can crank the total up by $500 or more. On top of that, you might run into unexpected expenses like permits or water line adjustments, so budgeting around $1,500 is a safe bet from my experience in sunny Irvine, CA, where timelines usually fall between one or two days for the job. If you need expert guidance on navigating these plumbing challenges, professional plumbers can help you.
Cost Breakdown
| Item | Low Range ($) | High Range ($) |
|---|---|---|
| Pressure Tank | 300 | 1,500 |
| Fittings & Valves | 50 | 200 |
| Installation (Professional) | 300 | 700 |
| Labor (DIY Tools) | 0 | 100 |
| Permits (If Required) | 25 | 100 |
| Total Estimate | 675 | 2,800 |
What Are the Factors Affecting the Costs Of Plumbing a Pressure Tank?
So, what factors determine the cost of installing a pressure tank?
-
Location of Installation: Installing a pressure tank in a tricky spot can raise your costs due to added labor and complexity.
-
Type of Pressure Tank: Different models, like bladder tanks or diaphragm tanks, have varying installation requirements, which can affect pricing.
-
Piping Configuration: The complexity of your existing plumbing setup can make it easier or harder to fit in the tank, influencing your overall budget.
-
Permit and Code Requirements: Local building codes in Irvine may require permits or specific materials, which can increase installation costs in both time and money. When planning excavation work, you’ll want to carefully navigate the plumbing permit process to ensure compliance with local regulations.
Special Considerations When Plumbing a Pressure Tank
When you’re plumbing a pressure tank, several technical factors are unique to this project.
- Pipe Size: Use 1 inch (25.4 Mm) PVC or ¾ inch (19.05 Mm) copper for the best water flow. Mismatched sizes can cause pressure loss.
- Tank Placement: Keep your pressure tank in a dry, level area, ideally within 5 feet (1.5 M) of nearby plumbing connections. Avoid moisture-prone zones.
- Air Charge: Pre-charge the air bladder of the tank to 38 psi (2.6 Bar) before installation. This ensures tank efficiency and prevents waterlogging.
- Check Valve Installation: Install a check valve on the supply line to prevent backflow; it’s essential to protect the tank and any associated pump.
- Vibration Dampening: Use isolation pads under the tank to minimize noise and vibration. This helps maintain smooth operation and reduce wear.
When to Consult an Expert for Plumbing a Pressure Tank
So you’re diving into how to plumb a pressure tank—exciting, right? But at some point, you might realize you need a pro. Look for experience specific to pressure tanks; this shows they know their stuff. Trust me, I’ve whispered sweet nothings to many tanks that had been improperly plumbed, causing headaches down the line. If you’re curious about technical plumbing terminology like CTS in plumbing systems, understanding these details can help you communicate more effectively with professionals.
I recommend checking in when you’ve got water pressure issues, leaks, or a complicated setup involving existing systems in OC. You want an expert who understands local codes, especially since earthquakes are a feature of fire season gearing up. Make sure they have good reviews. I’ve come across contractors who don’t follow safety guidelines; you don’t want to be another horror story!
When things seem hella tricky, reach out. Don’t sacrifice safety or quality! At least slide into the DMs of your local plumbing expert in Irvine before you take the plunge. If you’re wondering about the complexities of home plumbing repairs, you might want to explore homeowner plumbing system replacement. It’s worth it!
Pressure Tanks and You
Now, talking about pressure tanks—let’s get real. Do you know what they do? They’re essential for maintaining water pressure, especially when you’ve got your family in the shower and someone else needs to wash the dishes!
In the dry heat of Irvine, it’s a lifesaver for both your home system and those pretty little gardens. If you notice water pressure issues, it might be time to give your pressure tank a little TLC. When water heater problems arise, professional water heater installation experts can quickly resolve your home’s comfort needs.
Do Plumbers Work on Pressure Tanks?
Absolutely! I’m all about pressure tanks. They’re crucial in keeping your water flowing smoothly, whether you’re watering your garden or showering after a beach day!
What is the Best Pipe for a Well to Pressure Tank?
For a well to pressure tank setup, PVC or poly pipe is the way to go. These bad boys are resistant to scale and corrosion. In other words, they’ll last ages, even in our fluctuating groundwater quality around here! When dealing with pipe maintenance, you might encounter stubborn clogs that require professional solutions beyond standard drain cleaning methods.
How Much Air is Supposed to Be in a Pressure Tank for a Well?
You’ll want about 2 to 3 psi of air above the cut-in pressure. This little detail is key—it helps prevent waterlogging and reduces strain on your system. Think of it as keeping your tank in shape! When managing pressure dynamics, plumbing risers play a critical role in maintaining optimal system performance.
Do I Need a Check Valve Between a Well Pump and a Pressure Tank?
You bet! A check valve is your best friend in this setup. It stops the water from flowing back to the well, keeping everything running smoothly. Efficient plumbing equals happy homeowners, right? If you’re experiencing unexpected pressure drops, water pressure issues can complicate your home’s overall system performance.
How Often Should I Check My Pressure Tank’s Air Pressure?
Give your pressure tank a check-up at least twice a year. This little maintenance routine keeps your water system running smoothly, just like a well-oiled machine in the sunny spots of Irvine. If you’re worried about potential plumbing issues or unexpected costs, spotting plumber scams early can save you significant money and stress.
Can I Install a Pressure Tank Myself?
You sure can! But, and it’s a big but, understanding local codes is crucial. Don’t dive headfirst! Knowing about appropriate fittings and sizing makes all the difference.
What Signs Indicate a Pressure Tank Issue?
Fluctuating water pressure? Sounds like a karaoke night gone wild! Don’t ignore it! Keeping an eye out for such signs helps catch trouble before it escalates into a full-blown crisis.
In conclusion, whether you’re tackling pressure tanks or dealing with a leaky faucet, I’m always here to help. Let’s keep your Irvine home running smoothly—because no one wants plumbing problems messing with their chill vibes! If you’re considering expanding your professional skills, you might want to explore owning a multi-trade business.
Final Words: Ensuring a Successful Pressure Tank Installation
We’ve reached the conclusion, and I trust you found this guide helpful. We discussed what a pressure tank is, necessary preparations before plumbing, detailed plumbing instructions, cost factors, special considerations, and when to seek professional assistance for this project.
In summary, mastering how to plumb in a pressure tank empowers you to tackle your DIY plumbing tasks with confidence. Best of luck with your projects, and remember, I’m here to help if you encounter any challenges.
For further insights and resources, feel free to visit our homepage: Irvine Plumbers.
Additional Resources
- City of Irvine Plumbing Permits and Codes – https://www.cityofirvine.org
- How to Install a Well Pressure Tank the Right Way | Angi
- water – Questioning plumbing layout to a pressure tank (added visual diagrams) – Home Improvement Stack Exchange


