What Are Plumbing Risers?
Last Updated: February 27, 2025
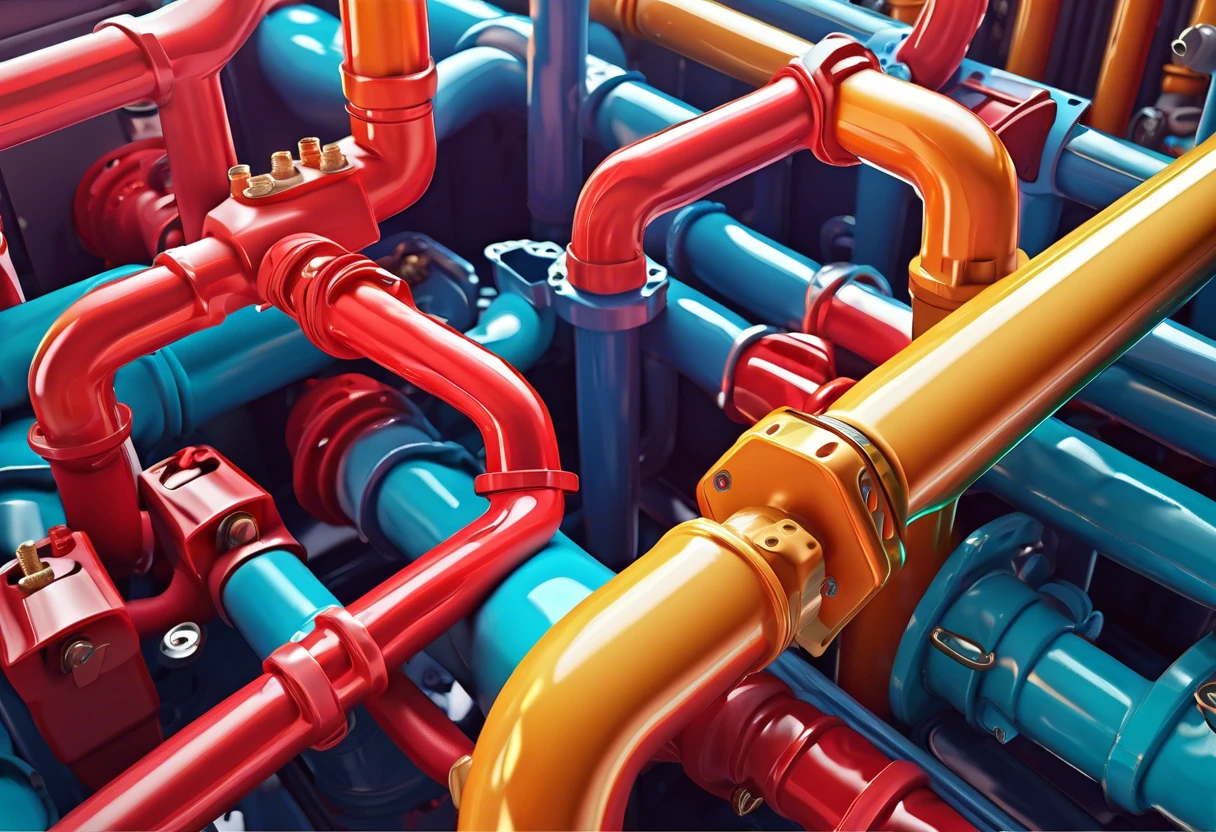
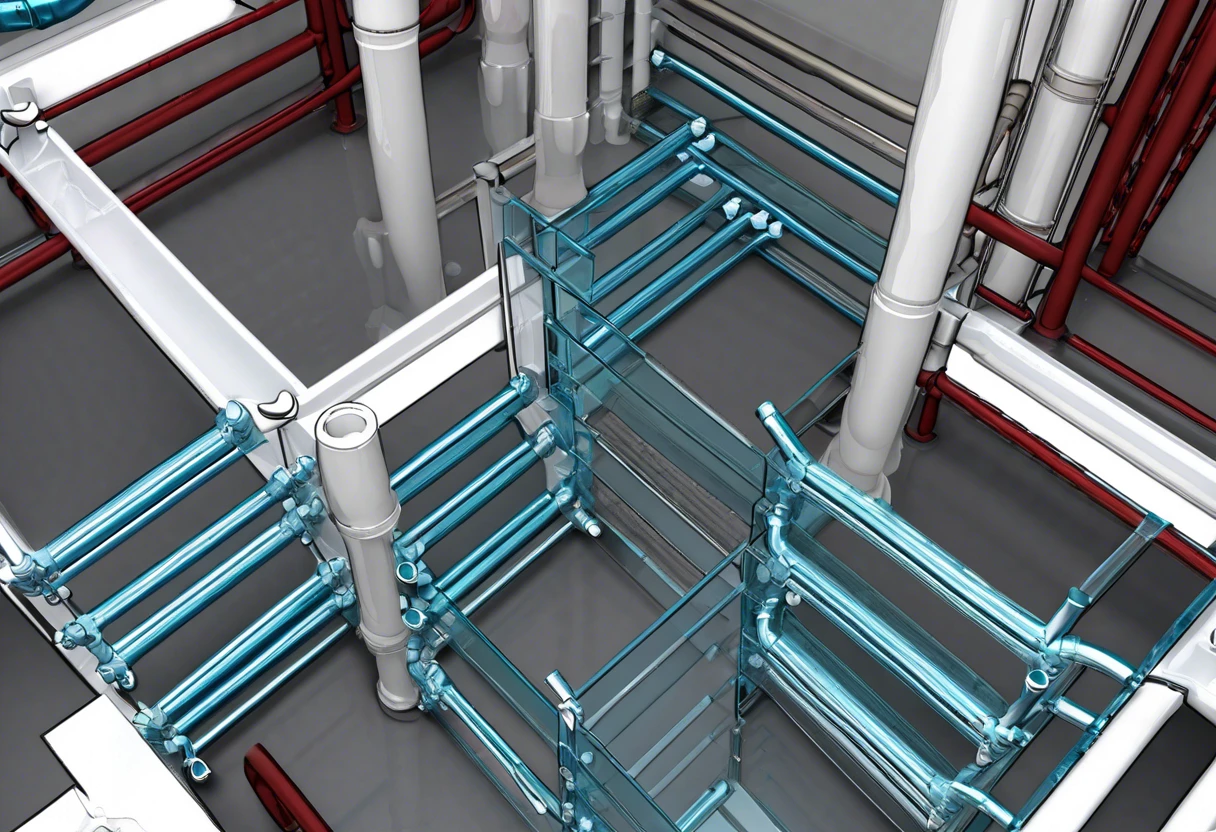
Plumbing risers are like tall pipes that help move water or waste in your home. They go up and down inside walls to connect different floors.
A common plumbing mystery I help solve is what are plumbing risers. From my firsthand experience with installing and troubleshooting these pipes, I can guide you through the nuts and bolts of it.
This article will cover the essentials like installation, costs, special considerations, and when to call in the pros about plumbing risers.
Table of Contents
- What Are Plumbing Risers?
- What Are ‘Plumbing Risers’?
- Before You Start… Essential Considerations for Plumbing Risers
- How to Install Plumbing Risers
- How Much Do Plumbing Risers Cost?
- What Factors Affect Plumbing Riser Installation Costs?
- Special Considerations for Plumbing Risers
- Types of Plumbing Risers
- Common Problems with Plumbing Risers
- Riser Sizing and its Importance
- Why Your Plumbing Riser Matters for Water Pressure
- Common Misconceptions About Plumbing Risers
- Riser Types and Their Specific Uses
- Riser Maintenance Tips to Extend Lifespan
- When to Consult Experts for Plumbing Riser Installation
- FAQ
- Final Words: Understanding Plumbing Risers and Their Role in Your Home
- Useful References
What Are Plumbing Risers?
Plumbing risers are vertical pipes that transport water or waste between different levels of a building. They connect your plumbing systems, ensuring water flows smoothly to bathrooms, kitchens, and other fixtures. These pipes play a key role in your home’s plumbing network. So, whenever you turn on a tap, risers are making it happen!
What Are ‘Plumbing Risers’?
Plumbing risers are vertical pipes that transport water, waste, or air between different floors of a building. They act as the backbone of plumbing systems, providing essential support in any multi-story structure, like the OC condos or houses popping up in Irvine. These pipes can have diameters ranging from 1 inch (2.5 Cm) to 12 inches (30 Cm), depending on the load they carry. For instance, a typical 4-inch (10 Cm) diameter riser can handle up to 200 gallons (757 Liters) per minute under standard conditions.
I once worked on a major high-rise project in downtown Irvine, where the plumbing riser layout literally dictated the building’s design. So, what are plumbing risers? In essence, they drain differently on various levels—in terms of pressure and drainage strategies, they need to be adequately sized to handle the flow. According to the PASF (Plumbing and Drainage Calculation), you need to consider various factors like distance, projection, and the local building codes set by our busy county. It’s wild how every detail counts here in the Valley! If you’re worried about potential overcharging during complex plumbing work, you might want to protect yourself from plumbing scams.
Before You Start… Essential Considerations for Plumbing Risers
What do you need to kick things off?
- Plumbing Code Books: You’ll need code books like the Uniform Plumbing Code (UPC) or International Plumbing Code (IPC). These will help you meet local codes in Irvine (Including Cypress and Moonlight).
- Pipe Wrenches: Grab a set of pipe wrenches, like the RIDGID Model 6 or Chaney Tool Rs1621. You’ll use these to grip pipes easily without causing damage.
- Measurement Tools: A reliable tape measure, such as the TASCO 25 ft (7.6 M) tape measure, is essential for measuring pipe lengths accurately, ensuring proper installation.
- Sealing Joints and Threads: Keep Teflon tape handy for sealing needs. It’s crucial for preventing leaks at pipe connections.
You should now have a good understanding of important factors, planning, and preparation for plumbing risers. In the next part, we’ll discuss installation techniques.
Also See: How to Plumb a Water Pressure Tank? Key Steps!

How to Install Plumbing Risers
Now, let’s cover the essential steps for understanding and installing plumbing risers to optimize your home’s water supply efficiently.
-
Prepare the Installation Area
First, identify where you want to install the plumbing risers. Typically, these are located vertically in walls to connect horizontal and main supply lines.
Make sure the area is clear of any existing structures or fixtures that could obstruct the risers. This could save you trouble later on when you’re trying to navigate tight spaces.
-
Measure and Mark Your Connection Points
Measure the distances between your main water line and the fixture entry points. Aim for a perpendicular 90-degree angle for an optimal fit and minimal leaks.
Keep in mind that precise measurements (Inches and Centimeters) are crucial. The last thing you want is to deal with multiple fittings or excess cuts later.
-
Cut and Fit the Riser Pipes
Use a pipe cutter to cut your pipes, ensuring even edges and preventing fraying. Standard riser pipes usually measure between 1 to 2 inches (2.5 To 5 Cm) in diameter, depending on your installation requirements.
Fit those riser sections into the established position slowly, anchoring them into place as you go along to align them with your current plumbing system without any gaps.
-
Secure the Risers to the Wall
Use pipe brackets or straps to firmly hold the risers against the wall, making sure no stress is placed on the pipes. Aim for secure points every 4 to 6 feet (1.2 To 1.8 Meters) to prevent unnecessary vibrations and movement.
This step is crucial because movements can lead to leaks or bangs when the water flows. So, follow those measurements to anchor your piping properly!
-
Test the Installation
Check for leaks around connections by turning on the main water supply and inspecting the risers for dripping. Let it flow and look closely after the first hour—seriously, unless you want to make little lakes in your house!
If you notice anything damp, tighten the connections slightly. I’ve been in this business long enough to know that catching minor issues right away can save a ton of headaches down the road!
Pro Tip: Always keep a plumber’s wrench handy—it’s literally a lifesaver for ensuring tight connections that won’t break down after installation!
You should now have a good understanding of installing plumbing risers. In the next part, we’ll discuss the cost of plumbing risers.
How Much Do Plumbing Risers Cost?
When it comes to plumbing risers, costs can vary hella depending on your specific situation. On the low end, you might be looking at around $50 to $200 per fixture for materials if you take the DIY route. If you bring in a pro, like I recommend, expect to fork over between $300 and $1,500, especially if unexpected issues pop up! Based on my experience, budgeting about $750 is a safe bet to cover all bases. Professional plumbers can help you navigate complex electrical and plumbing system challenges.
Cost Breakdown
| Cost Item | DIY Cost (USD) | Professional Installation Cost (USD) |
|---|---|---|
| Materials (PVC/PEX Pipes) | $50 – $200 | $200 – $700 |
| Labor | N/A | $100 – $1,000 |
| Unanticipated Expenses (Repairs, Permits) | Up to $100 | Up to $300 |
| Total Estimated Cost | $50 – $300 | $300 – $1,500 |
That covers plumbing riser costs. Let’s now take a look at the factors influencing plumbing riser installation expenses.
What Factors Affect Plumbing Riser Installation Costs?
So, what factors influence the installation of risers in your plumbing system?
-
Material Used: Choosing between PVC, copper, or PEX dramatically impacts the overall costs. Copper, while durable, can be hella pricey.
-
Location and Accessibility: Tight spaces or hard-to-reach spots in your home, especially in the OC, can hike up labor costs.
-
Building Code Requirements: Adhering to Irvine’s local plumbing codes may require additional materials or alterations, adding to the expense.
-
Permitting Fees: Don’t forget about any required permits; they can quickly turn a simple installation into a budget headache.
So far we covered the elements influencing plumbing riser installation costs. Let’s look at special considerations for plumbing risers next.

Special Considerations for Plumbing Risers
This section covers unique technical factors you should keep in mind for plumbing risers.
- Pipe Sizing: Make sure pipes are sized correctly to handle the water flow. For example, a riser serving one bathroom typically needs a diameter of at least ¾ inch (1.9 Cm).
- Material Compatibility: Use materials that are compatible with your existing plumbing. For indoor risers, CPVC (Chlorinated Polyvinyl Chloride) is a great choice, while PVC and PEX (Cross-linked Polyethylene) also work well outdoors. Check local codes for options.
- Support Requirements: Riser pipes need proper support. Use hangers spaced no more than every 10 feet (3 M) to prevent sagging or bending.
- Height Limits: Ensure that risers meet local height and pressure limits. Pressures shouldn’t exceed 75 PSI (517 Kpa) to avoid bursts. Measure before installation.
- Thermal Expansion Considerations: Account for thermal expansion when running hot water risers. Install expansion fittings if pipes are over 20 feet (6 M) long to minimize stress on joints.
Types of Plumbing Risers
Understanding the different types of plumbing risers can help you make better choices for your home. Here’s a breakdown of common riser types and their uses.
-
Water Supply Risers
These risers carry clean water from the main supply to various fixtures in your home. They are usually found in walls and can range from 1 to 4 inches in diameter (2.5 to 10 cm). If you’re in a busy Irvine neighborhood, these are critical for ensuring every tap and shower gets sufficient pressure.
-
Drainage Risers
Drainage risers handle wastewater from fixtures and return it to the main sewer line, typically with diameters from 2 to 6 inches (5 to 15 cm). If not properly installed, drainage risers can lead to major problems, like clogs or backups—definitely not ideal for your home! When considering plumbing materials for these critical components, you might want to explore the differences between galvanized and cast iron pipes.
-
Vent Risers
These risers allow air to enter plumbing systems, helping prevent vacuum formation that could cause slow drainage. They’re often more about the functionality of the system than the water itself, but they’re just as crucial. Look for these in multi-story homes or high-rises across Irvine. If you’re experiencing unexpected pressure drops, you might want to check your ceiling plumbing connections.
Common Problems with Plumbing Risers
Understanding common issues that can arise with plumbing risers is key for proactive maintenance. Here are a few to keep in mind:
-
Leaks
Leaks can be a nightmare, especially if undetected! Watch for damp patches on walls or ceilings; they might be whispering secrets about a riser problem.
-
Blockages
Blockages can occur in both drainage and water supply risers, leading to slow drains or pressure issues. If you notice your water flow isn’t as strong as it used to be, that could be a sign!
-
Corrosion
Older risers, particularly those made of metal, can suffer from corrosion. If you’re dealing with a vintage Irvine home, keep an eye on your pipes and consider an upgrade if needed.
Riser Sizing and its Importance
The size of the riser can make or break your plumbing system’s performance. Here’s why sizing is so crucial:
| Application | Recommended Diameter (inches) | Why It Matters |
|---|---|---|
| Single Bathroom | 1 inch (2.5 cm) | Ensures adequate pressure and flow for daily use. |
| Multiple Bathrooms | 2 to 3 inches (5 to 7.5 cm) | Handles increased demand during peak usage times. |
| Commercial Buildings | 4 inches (10 cm) and above | Caters to multiple fixtures running simultaneously to avoid backflow. |
Why Your Plumbing Riser Matters for Water Pressure
Understanding how plumbing risers impact water pressure can save you from a lot of headaches.
- Height Matters: The taller the riser, the more pressure it can build up. For instance, a 30-foot (9-meter) riser can significantly boost your shower pressure on the third floor of your Irvine home.
- Proper Sizing: If a riser’s diameter is too small for the demand, you’ll experience weak water flow. For example, a single family bathroom typically requires a 1-inch (2.5 cm) riser to ensure good pressure.
- System Balance: Vent risers play a crucial role in maintaining pressure throughout your plumbing system. A well-ventilated system means quicker drainage and less likelihood of backflow.
Common Misconceptions About Plumbing Risers
Let’s bust some myths surrounding plumbing risers to clear up your confusion.
- Myth 1: All risers are the same. In reality, each riser type—water supply, drain, and vent—has specific functions and requirements.
- Myth 2: You can use any material for risers. Material matters. PVC, PEX, and copper each have different lifespans and ideal applications.
- Myth 3: More risers equal better performance. Actually, excess risers can complicate flow and increase points of failure. Less is often more!
Riser Types and Their Specific Uses
Knowing the different types of risers is essential to ensure your plumbing system performs optimally.
| Type of Riser | Typical Diameter | Usage |
|---|---|---|
| Water Supply Riser | 1-4 inches (2.5-10 cm) | Provides clean water to bathrooms, kitchens, and appliances. |
| Drainage Riser | 2-6 inches (5-15 cm) | Channels wastewater away from fixtures to the sewer system. |
| Vent Riser | 1.5-3 inches (3.8-7.6 cm) | Prevents vacuum formation, ensuring proper drainage and airflow. |
Riser Maintenance Tips to Extend Lifespan
To keep your plumbing risers in top shape, consider the following maintenance tips.
- Routine Inspections: Check your risers at least every two years for leaks or corrosion.
- Keep Connections Tight: Regularly tighten fittings to prevent drips or breaks.
- Watch for Signs of Wear: Any unusual noises or drop in pressure? Get it checked ASAP!
Also See: How Do I Find the Plumbing Diagram for My House?
When to Consult Experts for Plumbing Riser Installation
So, you’re knee-deep in a DIY home project and wondering, “What are plumbing risers?” Here’s the deal: Knowing when to call in the pros can save you time and cash in the long run. Look for experts with a solid reputation in the local Irvine area. Companies should be transparent, respond quickly, and have plenty of good online reviews from your neighbors. If you’re curious about the longevity of modern plumbing systems, check out PVC pipe durability in Irvine.
From my past projects, I recommend checking if they are licensed and insured—trust me, this can save you major headaches later on! Go with those who can walk you through the process, answer your questions, and provide detailed estimates. Always ask for examples of their prior work.
Watch out for quotes that seem too low; they can mean rushed work or cheap materials. Quality is the goal. Once, I had clients who hired someone without even confirming the existing layout of their plumbing risers. Budget-wise, missing those details upfront cost them over $2,500. In this case, installing a pressure tank correctly requires professional expertise to avoid costly mistakes.
FAQ
What Are the Common Materials Used for Plumbing Risers?
People often ask me, “What are the common materials used for plumbing risers?” Typically, plumbing risers are made from copper, PVC, or PEX. Each has its pros and cons—like cost, durability, and resistance to corrosion. In my Irvine plumbing jobs, I’ve found PVC is hella popular for residential systems due to its lightweight and lower cost. Seriously, it’s a bang for your buck!
How Often Should Plumbing Risers Be Inspected?
I usually get asked how often plumbing risers should be inspected. I suggest checking them at least every two years to catch any problems early. Considering our unique OC climate—especially near the coast—you might wanna check them more often or after heavy storms. Storm season is no joke! If you’re unsure about handling these inspections yourself, it’s crucial to know legal requirements for plumbing work.
What Are the Signs Of a Problem With Plumbing Risers?
You might be wondering, “What are the signs of a problem with plumbing risers?” Common issues include water stains on ceilings or walls and strange noises in the pipes. Regularly checking your risers can prevent bigger headaches in the future. If you’re renting, you’ll want to know who handles plumbing repairs in your rental property. Trust me, it’s seriously not worth ignoring these signs in your Irvine home!
Can I Install Plumbing Risers Myself?
You should know, “Can I install plumbing risers myself?” Yes, you can tackle it on your own, but it requires some know-how and special tools. Mistakes can lead to leaks that could cost you a fortune in repairs, so be sure to follow home codes in the OC area. Take your time, and get it right! When considering long-term plumbing solutions, it’s crucial to understand how PEX pipes perform over time.
What is the Lifespan Of Plumbing Risers?
You might be curious, “What is the lifespan of plumbing risers?” Generally, PEX can last 40-50 years while copper can edge up to 70 years with proper care. Keep in mind that exposure to harsh elements can decrease longevity. Being proactive now could save you stress and dollars down the line—nobody wants a surprise plumbing overhaul! Tracing the historical evolution of residential plumbing systems reveals fascinating insights into how indoor plumbing transformed homes.
What is the Use Of Riser Pipe?
I often hear, “What is the use of riser pipe?” Riser pipes connect various systems in your home, like the water supply to multiple floors. They’re essential for efficiently distributing resources within a vertical structure. Neglecting them means you might find it tricky for water delivery, especially if you live in a multi-story Irvine building! If you’re considering expanding your professional skills, you might want to explore owning a plumbing business that specializes in complex vertical infrastructure.
Where Are Riser Pipes Located?
I get asked often, “Where are riser pipes located?” Riser pipes typically run vertically and can usually be found in closets or utility spaces within your structure. They’re strategically placed to connect water lines from short dwellings to taller buildings, ensuring maximum efficiency.
What is a Drainage Riser?
You’re probably wondering, “What is a drainage riser?” A drainage riser collects wastewater from multiple connections and channels it down to your main sewer. Understanding these components is crucial—especially in areas prone to heavy rains and runoffs. We want to keep our beautiful Irvine neighborhoods flowing smoothly, right? If you’re a homeowner or contractor looking to tackle plumbing projects effectively, professional plumbing job strategies can help you navigate complex drainage installations with confidence.
Final Words: Understanding Plumbing Risers and Their Role in Your Home
We are almost done. We covered what plumbing basics and DIY techniques are, essential considerations before starting the installation, how to install them, their costs, factors affecting installation costs, special considerations, and when to consult experts.
In simple terms, plumbing risers are vertical pipes crucial for delivering water or draining waste in your home. If you’d like more guidance or need a professional’s touch, don’t hesitate to give me a call to discuss services related to plumbing risers.
For additional insights and resources, return to our homepage: Irvine Plumbers where you can explore more articles and information!
Useful References
- Cauldwell, R. (2017). Plumbing Complete: Expert Advice from Start to Finish. Cool Springs Press.
- Risers: What They Are, How to Know They Need Replacement
- what is riser in plumbing – Plumbers Derby


