What Type Of Plumbing Was Used in 1980?
Last Updated: February 27, 2025
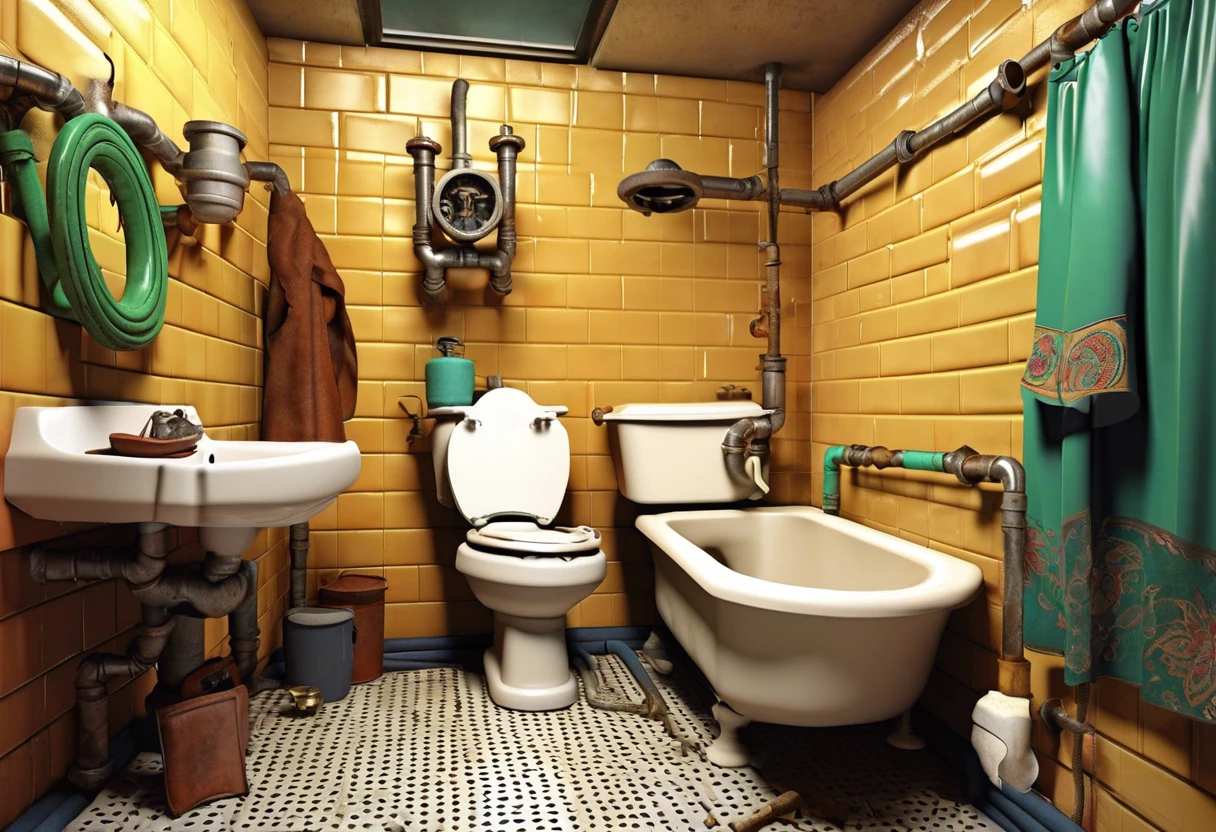
In simple terms, 1980s plumbing systems means the pipes and methods people used in homes back in the ’80s. It’s kind of like the toys we played with then; they were different from what we have now.
A plumbing head-scratcher I’m frequently asked about is what type of plumbing was used in 1980. From my first-hand experience fixing those older systems, I understand the quirks, and I’m here to help clarify this for you.
In this article, we’ll cover what 1980s plumbing is, how to identify it in your home, costs for replacement, factors affecting its condition, considerations for upgrades, and when to consult a professional.
Table of Contents
- What Type Of Plumbing Was Used in 1980?
- What is 1980s Plumbing?
- Before You Start: Understanding 1980s Plumbing Systems
- How to Identify 1980s Plumbing in Your Home
- What Factors Affect the Condition Of 1980s Plumbing Systems?
- Common Plumbing Issues from the 1980s
- Comparing Plumbing Materials from 1980
- What Were the Common Plumbing Materials Used in the 1980s?
- Key Characteristics of 1980s Plumbing Practices
- Special Considerations for Upgrading 1980s Plumbing
- You, the Unlikely Plumbing Hero Of Irvine
- Final Words on 1980s Plumbing Systems
- Useful References
What Type Of Plumbing Was Used in 1980?
In the 1980s, most homes used copper and PVC piping for plumbing. Copper was popular for its durability, while PVC offered affordable options. This combo worked well for both water supply and drainage systems. When selecting the right pipe diameter, plumbers often consider specific project requirements and precise water hose measurements.
What is 1980s Plumbing?
1980s plumbing is marked by some unique materials and techniques that were all the rage back then. You’ll mostly find PVC (Polyvinyl Chloride) and CPVC (Chlorinated Polyvinyl Chloride) pipes popping up as affordable and superior alternatives to the metal systems used in older homes. PVC pipes are lightweight, cost-effective, and typically come in sizes from ½ inch (12.7 Mm) to 8 inches (203 Mm) in diameter. These materials improved pressure and hot water applications significantly. The shift was crucial because it enhanced fire safety standards at that time—the primary reason today’s Californian homes follow stringent hazardous material guidelines for installation. If you’re considering expanding your plumbing expertise into electrical work, you might want to explore owning a multi-trade business.
You might be surprised, but I actually used this plumbing for a kitchen renovation this year! The costs of tearing out old piping (If It’s Copper or Galvanized Steel) can run anywhere from $1,000 to $4,000, especially when you dig into messy retrofitting. Another cool transition linked to plumbing in the ’80s was the reliable ABS (Acrylonitrile Butadiene Styrene) pipe, mainly used for drainage systems. And let’s not forget $PASF (Polymer Applied Structural Finishing)—it played a role in how homes were built back then, with design flexibility becoming a big deal for giving houses a modern look in the OC and beyond. Plumbing systems often rely on complex manifold configurations for efficient distribution.
Before You Start: Understanding 1980s Plumbing Systems
What do you need to know before diving into 1980s plumbing systems?
- Copper Pipe Cutter: You’ll need a pipe cutter like the RIDGID 35963 to easily slice through ¾-inch (1.90 Cm) copper pipes. This tool helps you clear away clunky materials without damaging your plumbing.
- Pipe Insulation: Grab some pre-slit pipe insulation tape, like the Thermwell Products 5/8-inch (1.59 Cm) foam insulation. It’s crucial for preventing heat loss or condensation on the pipes.
- Reinforced PVC Adhesive: You want a sealant such as Weld-On 720 for quick bond applications on PVC pipes. These are common in ’80s construction, and using the right adhesive helps prevent future leaks.
- Plumber’s Putty: Keep some Oatey Plumber’s Putty handy; it’s perfect for repairing or sealing around fixtures. I once thought silicone alone would suffice, but I learned the hard way!
- Torque Wrench: You’ll want a click-type torque wrench like the TEKTON 24335 for reliable fittings. This tool helps securely tighten connectors, ensuring everything is good to go.
That covers the basics of 1980s plumbing systems. Let’s now take a look at identifying 1980s plumbing in your home.
Also See: How to Start Plumbing? A Quick Guide to Your Career

How to Identify 1980s Plumbing in Your Home
Now, let’s dive into how to uncover the plumbing materials that were all the rage in the ’80s.
-
Identify Pipe Materials
Look for typical materials like PVC, CPVC, and polybutylene in your plumbing system. PVC pipes, popular in the late ’80s, are usually white or gray, while CPVC has a creamy yellow hue.
If you’re dealing with polybutylene, those pipes are generally gray and often sold under various brand names. It’s smart to inspect your pipes closely; copper was still in use back then, especially in older homes, and they’ll be shiny and metallic.
-
Assess the Pipe Diameter
Most plumbing from the ’80s has a distinctive diameter. You’ll typically see ½ inch or ¾ inch (12.7 Mm or 19.05 Mm) pipes for residential supply lines. To measure, grab a caliper or a tape measure to ensure you’re accurately identifying the pipe size.
Knowing the diameter is crucial when planning any repairs or replacements. I remember chasing down some unexpected leaks when folks mixed different-sized pipes, so you want everyone on the same page here in the OC.
-
Check for Plastic Fittings
Inspect for plastic fittings, which gained popularity in the ’80s as an alternative to traditional copper fittings. These are often bright in color and lightweight—just give ’em a tap or shake to evaluate their density.
Changes in fittings might indicate prior repiping or repairs, which can affect your entire plumbing profile. I once had a buddy, Ken from Tustin, who had a shocking revelation while upgrading his system and had to rethink his budget—as you’d probably guess!
Pro tip: Remember to label any modifications you make so they’re easier to spot next time. I recommend bright-colored tags for quick identification.
So far we covered how to recognize plumbing from the 1980s. Let’s look at the factors impacting its condition next.
What Factors Affect the Condition Of 1980s Plumbing Systems?
So, what factors influenced the plumbing choices made back in the 1980s?
-
Building codes: Compliance with local standards dictated whether PVC, copper, or galvanized steel was used.
-
Material trends: The rise of PVC and PEX (Cross-linked Polyethylene) prompted a shift from traditional pipes to more modern systems.
-
Cost of materials: Budget constraints often led homeowners to opt for less expensive materials, impacting their longevity.
-
Climate factors: The warm Cali weather made certain materials, like copper, favored for their resistance to corrosion.
We’ve wrapped up the factors influencing the condition of 1980s plumbing systems here. Let us turn our attention to common plumbing issues from the 1980s.
Common Plumbing Issues from the 1980s
Let’s discuss some of the typical plumbing problems that homeowners faced with the systems used in the 1980s.
-
Corrosion in Copper Pipes
While copper is durable, older systems can suffer from corrosion over time. You might notice discoloration in your water, or even worse, pinhole leaks that cause water damage. Trust me, I’ve seen houses in Irvine suffer from this due to unmonitored pipes. If you’re experiencing pipe issues, check out some DIY plumbing repair techniques that can help prevent further damage.
-
Joining Issues with PVC
PVC is pretty sturdy but can be tough if it’s not installed correctly. Poor joins can lead to leaks, so you’ll want to check that everything is tightly sealed. I once did a repair for a homeowner where the PVC pipes were leaking like crazy because of a never-sealed joint—frustrating, right? When unexpected pipe failures occur, knowing how to handle plumbing emergencies can save you significant stress and potential water damage.
-
Polybutylene Pipe Failures
Many homes had these flexible pipes that have been known to fail dramatically. You’ll often see bulges or leaks in the system. Upgrading these pipes is usually a smart move, as it can save you major headaches down the road! When planning pipe replacements, knowing the basics of rough plumbing installation can help ensure a smoother renovation process.
-
Drainage Issues
The drainage systems in many ’80s homes often contain outdated materials like cast iron or old PVC, which can clog and corrode over the years. When I tackled a job in the OC, I couldn’t believe the mess from decades of buildup—it was wild!
We’ve wrapped up common plumbing issues from the 1980s here. Let us turn our attention to comparing plumbing materials from that era.

Comparing Plumbing Materials from 1980
It’s key to know the various plumbing materials used in the ’80s as they each have unique characteristics.
| Material Type | Advantages | Disadvantages | Average Lifespan (Years) |
|---|---|---|---|
| Copper | Durable, resists corrosion | Can corrode over time, pricier | 50+ Years |
| PVC | Cost-effective, lightweight | Can crack with extreme heat | 25-40 Years |
| Polybutylene | Flexible, easy to install | High failure rate, prone to leaks | 10-15 Years |
| Galvanized Steel | Strong, holds pressure well | Corrodes, rusts over time | 20-50 Years |
What Were the Common Plumbing Materials Used in the 1980s?
The types of plumbing materials in the ’80s were quite distinct and had their own quirks. Let’s break down the common materials and what made them special back then.
| Material | Characteristics | Common Uses | Typical Lifespan |
|---|---|---|---|
| Copper | Durable and corrosion-resistant; heat-conductive. | Hot and cold water supply lines. | 50 Years+ |
| PVC | Lightweight, cost-effective, flexible in applications. | Drainage, waste, and vent (DWV) systems. | 25-40 Years |
| CPVC | Similar to PVC but suitable for hot water. | Hot and cold water supply lines. | 40-70 Years |
| Polybutylene | Flexible and easy to install but prone to leakage. | Residential water supply lines. | 10-20 Years |
| Galvanized Steel | Strong, can rust over time affecting water quality. | Older homes for water supply. | 20-50 Years |
Key Characteristics of 1980s Plumbing Practices
The plumbing practices used back in the ’80s also reflected the trends and technology of the time. Here are some key characteristics to remember:
- Connection Techniques: Soldering was commonly used for copper pipes, while solvent-weld was the preferred method for PVC joints.
- Pipe Size: Standard sizes ranged from ½ inch (12.7 mm) to ¾ inch (19.05 mm) for most residential plumbing systems.
- Trends in Material Use: A substantial shift occurred with the introduction of plastic pipes, making plumbing installations easier and cheaper.
- Local Regulations: California building codes from the ’80s started to prioritize fire safety, which contributed to the rise of non-combustible materials like CPVC.
Special Considerations for Upgrading 1980s Plumbing
When you’re upgrading plumbing from the 1980s, keep these unique factors in mind.
- Polybutylene Pipes: Many homes from this era used these flexible pipes, which have a high failure rate. Seriously, consider replacing them since they’re prone to leaks and breakage. Replacement costs usually range from $500 to $2,500, depending on your home size.
- Galvanized Steel Pipes: You might find these in some homes as well. They corrode over time, which can mess with your water quality. If you have them, it’s probably time to switch to copper (Around $2.50 To $5.00 Per Foot) or PEX (About $0.50 To $2.00 Per Foot).
- Water Heater Safety: A lot of ’80s water heaters are older and less efficient. The code now requires that replacement models use venting (Outlet for Gas) systems to ensure safety and energy savings; upgrading this could run you around $700.
- Drainage Systems: Cast iron or old PVC pipes are common downsides of ’80s plumbing. They can block or wear down over time. Think about using modern reinforced plastic or PVC for repairs, which will cost about $3.50 per foot.
You, the Unlikely Plumbing Hero Of Irvine
Ever found yourself knee-deep in a plumbing conundrum, right here in Irvine, CA? Literally, it’s a whole journey! But don’t worry, I’ve been through it plenty of times.
Take, for example, that summer day when the OC heatwave dried everything up, and my showerhead felt like it was coughing rather than raining. It’s wild how these little plumbing issues can pop up when you least expect them. When dealing with stubborn pipe problems, I always recommend checking safe drain cleaning methods.
Well, with some trusty tools and a bit of ‘Cali’ know-how, I took on the challenge. You’d be surprised; once you get into it, you start to understand how things fit together. As they say, “With any luck,” you’ll find it much simpler than it seems.
Now, when it comes to your home plumbing, I’ve got a few golden nuggets of advice just waiting to be shared. Have you ever dealt with a leaky faucet? It might seem small, but that drip can really add up on your water bill—like, seriously. A quick fix can save you hundreds!
And speaking of saving, let’s chat about those old pipes in your home. If your house was built in the ’80s or ’90s, you might find polybutylene pipes hiding in those walls. Newsflash: it’s not a good look! Spending a few bucks to replace those now can save you from a world of headaches later on. Before you start tearing into your plumbing system, you’ll want to know about homeowner plumbing permit requirements.
Also, did you know that PVC pipes were all the rage back in the late ’70s? They’re light, resistant to corrosion, and way cheaper than metal. If you need to replace some piping, consider going that route. In other words, you’ll be stoked at the savings on maintenance! When dealing with drain issues, you might want to know how much drain snaking costs.
If you’re ever unsure about what plumbing you have, a visual inspection is key. Look for shiny copper piping; that’s your 80s classic. But blue or gray pipes? That’s likely polybutylene—definitely something to keep an eye on. When working with different pipe materials, it’s crucial to know the right soldering techniques for your specific plumbing soldering specific pipe connections.
And what about renovations? Sure, you can remodel your space without updating the plumbing, but it’s not always the smartest choice. You’ll end up spending more in the long run if those old pipes give you trouble. So, let’s save you from future stress! When considering home improvements, knowing the right plumbing pipes for your home can make all the difference in preventing costly repairs.
So, next time you’re faced with a plumbing dilemma, just keep it chill and remember: a little bit of know-how goes a long way. And if you ever need a helping hand, just give me a shout. I’m always stoked to lend a hand to my fellow Irvine homeowners. If you’re wondering about tackling plumbing system replacements yourself, check out some homeowner plumbing replacement tips.
Final Words on 1980s Plumbing Systems
We have covered a lot about what type of plumbing was used in 1980, including insights into 1980s plumbing characteristics, how to identify these systems in your home, cost aspects of replacement, factors influencing their condition, and special considerations for upgrades.
Hopefully, I was able to share some of the knowledge I’ve gained from 15+ years in the plumbing industry basics about plumbing systems from that era, giving you a clearer picture of how to move forth with your own plumbing needs.
If you need additional information, Irvine Plumbers is here to provide support.
Useful References
- Orange County Plumbing Association (OCPA) – https://www.ocplumbing.org
- r/Plumbing on Reddit: 70s and 80s plumbing
- Old Piping Materials in Your Home May Need to Be Replaced – Santa Fe Express Plumbing


