Can Plumbing Vent Pipe Have 90 Degree Turns?
Last Updated: February 27, 2025
Plumbing vent pipes help air flow throughout your plumbing system, making sure everything works right and smoothly. They’re kind of like breathing tubes for your house, letting gasses escape and keeping things clean.
Over the years, one question that keeps coming up is can plumbing vent pipe have 90 degree turns. I’ve tackled this issue on various jobs in Irvine, and I’m here to share my insights with you.
This article will cover the proper installation of plumbing vent pipes, costs involved in installation, special considerations for configurations, and when to consult with a plumbing expert for help.
Table of Contents
- Can Plumbing Vent Pipe Have 90 Degree Turns?
- What is a Plumbing Vent Pipe?
- Before You Start Considering Vent Pipe Configuration…
- How to Properly Install a Plumbing Vent Pipe With Turns
- Special Considerations for Plumbing Vent Pipe Configuration
- Alternative Venting Solutions When Using 90-Degree Turns
- Common Problems with Using 90-Degree Turns
- Effects of 90-Degree Turns on Vent Pipe Performance
- Best Practices for Managing Plumbing Vent Pipe Turns
- Assessing the Need for 90-Degree Turns
- Impact of Local Building Codes on Vent Pipe Bends
- You, the Unlikely Plumbing Hero Of Irvine
- Final Words on Plumbing Vent Pipe Configurations and Best Practices
- Useful References
Can Plumbing Vent Pipe Have 90 Degree Turns?
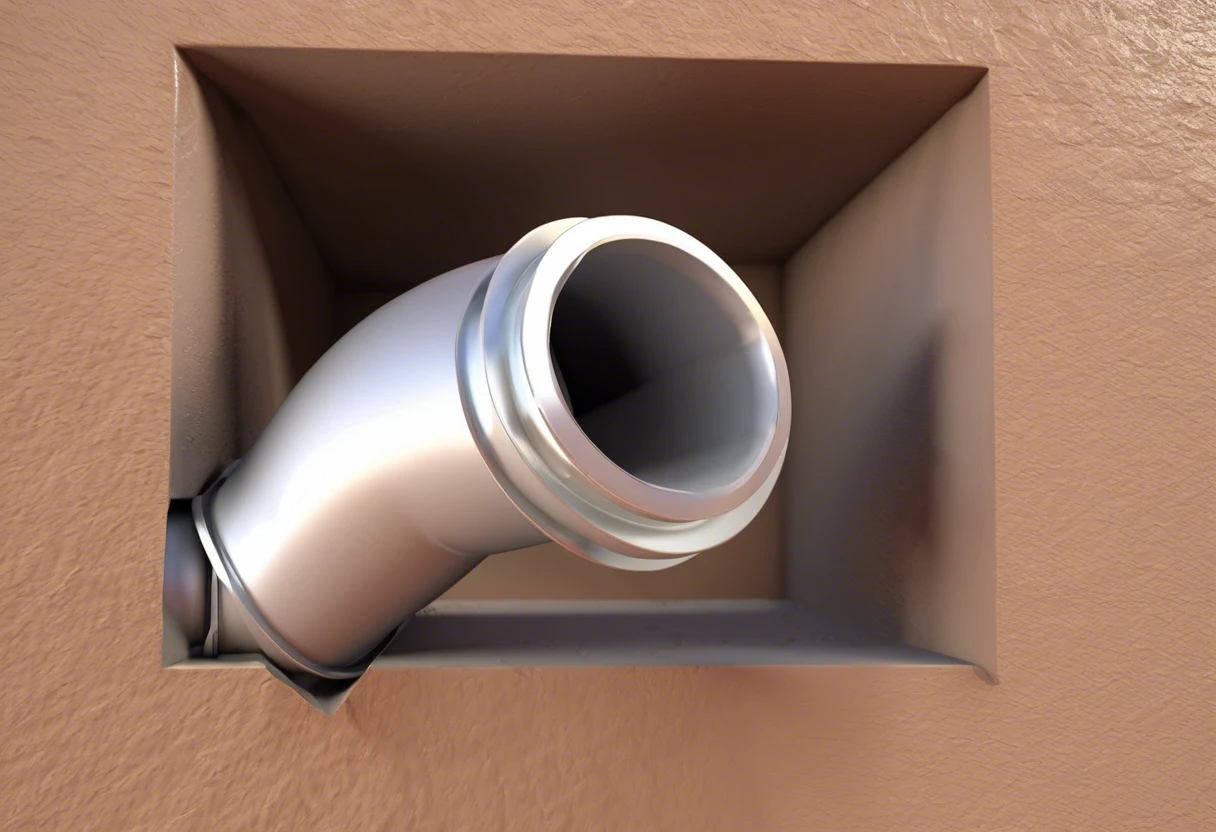
Yes, plumbing vent pipes can have 90-degree turns, but it’s best to limit them to one per run. More than that can reduce airflow and lead to drain issues. Use long-radius fittings to maintain efficiency.
What is a Plumbing Vent Pipe?
A plumbing vent pipe is an essential part of your home’s plumbing system. It allows air into the piping, which prevents suction that can disrupt water flow. In other words, these pipes let sewer gases escape safely out to the roof and help maintain correct water levels in toilets, sinks, and bathtubs. Typically, plumbing vent pipes are at least 2 inches (5.08 Cm) in diameter for proper ventilation. If you’re interested in learning more about the intricacies of plumbing systems, you might want to explore professional plumbing career paths.
Back when I was working on a vintage property in Santa Ana, I fit a proper plumbing vent pipe system to boost the overall plumbing efficiency. You might be wondering, can a plumbing vent pipe have 90-degree turns? Generally, you should avoid sharp turns to maintain airflow. Best practices suggest a maximum of 2 elbows per run to prevent blockages. Remember, each 90-degree vent elbow adds about 5 feet (1.52 M) of equivalent pipe length due to friction loss, so keep that in mind while planning your layout. The installation typically costs around $200 to $600 for professional service, depending on how complex your system is.
Before You Start Considering Vent Pipe Configuration…
What do you need to kick off your vent pipe project?
- PVC Vent Pipe (3-inch and 4-inch): You’ll need standard PVC vent pipes, like the Charlotte Pipe 3-inch or 4-inch (7.62 Cm or 10.16 Cm) pipes. These are essential for the main structure of your vent system.
- 90-Degree Elbow Fittings: Grab some PVC 90-degree elbows, such as the President Choice fitting. They’re necessary for effectively changing the direction of your vent pipe.
- Pipe Cement: Get a reputable vent pipe cement, like Oatey PVC Cement. This ensures a strong, secure joint to prevent leaks during those fire season heroics.
- Pipe Strap Hangers: Manual fittings like Simpson Strong-Tie beam straps help support and stabilize the vent system every 3 to 4 feet (0.91 To 1.22 Meters) across vent runs.
- Measuring Tape: You need a solid 25-foot (7.62 M) measuring tape to accurately measure both sections beforehand—crucial before making those epic decisions.
We covered the basics of vent pipe configuration here. We will now cover the proper installation of vent pipes with turns.
Also See: How to Get Plumbing License in Irvine? A Quick Guide
How to Properly Install a Plumbing Vent Pipe With Turns
Let’s dive into the steps for tackling bends in plumbing vent pipes. Pay close attention to each step to ensure everything goes smoothly.
-
Assess Your Plumbing Layout
First, take a hard look at your existing plumbing layout to identify where the turns will be placed. If you have those 90-degree bends, make sure your setup complies with California plumbing codes concerning vent pipe installation. Professionals often recommend specific techniques for optimizing plumbing system performance.
Look for vertical segments—this is where adjustments regarding slope (That’s Your Angles and Inclines) really come into play. You want all vents to maintain a rise of at least 1/4 inch per foot to prevent any stagnant water buildup.
-
Choose the Right Pipe Material
Select the appropriate material for the vent pipe—usually, PVC or ABS works best in the OC area. Both materials resist corrosive gases from the wastewater quite well.
For outdoor applications, PVC is often preferred because of its durability against California’s intense sun. Make sure to check with local municipalities if they have a preference for one over the other. When unexpected plumbing issues arise, knowing how to handle urgent repairs becomes crucial.
-
Plan for Proper Slope and Elevation
You need to ensure that your vent pipe slopes correctly to allow gases to flow freely. Ideally, these pipes should have the specified 1/4 inch per foot incline heading towards your house’s drainage system.
This approach minimizes the risk of needing multiple repairs during fire season due to condensation. Plus, keeping your vent pipe placed a couple of feet high ensures proper release during heavy rain, observing the limit of about 10 to 20 feet.
-
Install 90-degree Turns Correctly
When you install 90-degree turns, make sure they’re positioned correctly. Using the right fittings will help ensure that gas flow isn’t restricted. Poorly aligned joints can lead to noise and reduce the efficiency of your vent system.
Also, reducing the number of turns will help minimize any potential buildup in the pipes, allowing things to flow smoothly. Take the time to make sure each joint fits snugly and is securely connected. If you’re curious about how plumbing techniques have evolved over the decades, check out these historical plumbing installation methods.
Pro Tip: I’ve been in this line of work for a while, and I can tell you that using quality spacer components significantly improves airflow around any right angles. This simple upgrade can make all the difference in your vent system’s overall performance.
So far we covered the correct installation of plumbing vent pipes with bends. Let’s look at considerations for vent pipe configuration next.
Special Considerations for Plumbing Vent Pipe Configuration
This section dives into unique factors that can affect the plumbing vent pipe setup, especially regarding turns.
- 90-Degree Turns: Generally discouraged unless absolutely necessary. If you have to use them, ensure a smooth transition to reduce airflow issues. Believe it or not, roughly 25% of vent stack efficiency can drop with each turn.
- Vent Pipe Diameter: Maintain a minimum 2-inch (5.08 Cm) diameter for most household applications. For pots, bathroom fixtures, or kitchens, you may need up to 4 inches (10.16 Cm).
- Height and Placement: Slope vent pipes up from the drain at 1/4 inch per foot (About 2.08 Cm Per Meter). Avoid placing vents near trees to prevent root intrusion.
- Connections: Use proper fittings to guarantee seals. A boot fitting designed for larger vents helps avoid clogs and airflow hindrance.
You should now have a good understanding of unique plumbing vent pipe setups and considerations. In the next part, we’ll discuss alternative venting methods involving 90-degree bends. When navigating tight spaces, you might need specialized techniques to maneuver plumbing snakes around corners.
Alternative Venting Solutions When Using 90-Degree Turns
When you have to make those 90-degree turns in your plumbing vent pipe, there are some creative ways to enhance airflow and efficiency.
- Use Long-Radius Elbows: Instead of standard 90-degree elbows, opt for long-radius fittings. These are designed to make smoother turns, reducing turbulence and allowing for better air circulation.
- Add Vent Extensions: Extending the vertical part of your vent can help improve airflow, especially if you’re constrained by space and have to navigate those tricky 90-degree bends.
- Install Additional Vents: Consider adding more vent pipes to maintain optimal airflow within the system. This can balance the pressure and prevent potential blockages caused by a sudden turn.
We have now covered alternative venting solutions for 90-degree turns. The next section addresses common issues associated with these turns.

Common Problems with Using 90-Degree Turns
It’s essential to understand the potential headaches that can come from having 90-degree turns in your plumbing vent pipe.
- Increased Pressure Loss: Each turn adds resistance to airflow. As a result, your plumbing system might struggle, leading to gurgling sounds and slow drainage.
- Risk of Blockages: 90-degree bends can trap debris and grease, which can ultimately cause blockages. Homeowners often experience messy clogs that require professional cleaning.
- Limited Venting Capacity: If your system can’t vent properly due to sharp turns, it might not prevent sewer gases from entering the home. That’s not a fun situation, trust me!
Effects of 90-Degree Turns on Vent Pipe Performance
Understanding the impact of 90-degree turns in plumbing vent pipes is crucial for optimal efficiency.
| Turn Type | Impact on Airflow | Recommendation |
|---|---|---|
| Standard 90-Degree Turn | Significant airflow restriction; may cause pressure buildup leading to gurgling sounds. | Limit to one per run; use long-radius fittings if necessary. |
| Long-Radius Turn | Provides smoother transition, reducing resistance and improving airflow. | Utilize where possible to enhance vent system efficiency. |
| Multiple Turns | Cumulative airflow issues; can exacerbate clogging and drainage problems. | Avoid more than two turns if possible; plan layout carefully. |
Best Practices for Managing Plumbing Vent Pipe Turns
Incorporating best practices can help maintain effective airflow in your plumbing system.
- Minimize Angles: Only use a 90-degree turn when absolutely necessary. Every additional angle adds resistance, so be strategic about your layout.
- Monitor Vent Height: Ensure that vent pipes are installed at the correct height to minimize back pressure and support effective drainage.
- Frequent Inspections: Check your fittings periodically for leaks or clogs, especially at turns where blockages are more likely to occur.
Assessing the Need for 90-Degree Turns
Before committing to a design with 90-degree turns, ask yourself these key questions:
- Is there a direct path for venting without needing sharp turns?
- Will adding longer sections or additional vents optimize airflow instead of turns?
- How often does the system need maintenance and could I reduce that with better design?
Impact of Local Building Codes on Vent Pipe Bends
In Irvine, CA, local building codes can heavily influence how you can configure your plumbing vent pipes, especially regarding those 90-degree turns. If you’re serious about mastering plumbing regulations, you might want to explore the steps to obtain a professional plumbing license.
| Code Requirement | Description |
|---|---|
| Maximum Bend Angles | Most local codes recommend limiting vent pipe bends to one or two 90-degree turns to ensure proper airflow. |
| Minimum Pipe Diameter | Maintain at least a 2-inch (5.08 Cm) diameter for residential vent pipes; larger fixtures like kitchens may require up to 4 inches (10.16 Cm). |
| Vertical Rise Requirement | Vents must rise at least 6 inches (15.24 Cm) above the drainage system to prevent odor infiltration. |
| Inspection and Permits | Get necessary permits to ensure code compliance. An inspection can save you from future liabilities. |
You, the Unlikely Plumbing Hero Of Irvine
Ever found yourself knee-deep in a plumbing conundrum, right here in Irvine, CA? Literally, it’s a whole journey! But don’t worry, I’ve been through it plenty of times.
Take that time when the OC heatwave dried up everything, and my showerhead felt like it was coughing rather than raining. It’s moments like these that remind you—we’re not just homeowners; we’re all in this together!
With some trusty tools and a bit of ‘Cali’ know-how, I took on the challenge. As they say, “With any luck,” you’ll find it simpler than it seems. So, what are some common plumbing dilemmas that I’ve tackled in Irvine? Let’s break it down! When working on complex plumbing systems, I often refer to critical technical specifications to ensure precision.
Common Plumbing Issues in Irvine
First off, have you ever dealt with that pesky dripping faucet? It sounds like a small irritation, right? But trust me, that drippy sound can cost you hella bucks on your water bill! A simple washer replacement can literally save you money and sanity. If you’re struggling with persistent faucet issues that seem more complex, you might want to diagnose potential plumbing complications.
Then there’s the dreaded toilet that won’t stop running. Ugh! If your toilet sounds like it’s in a marathon, it’s usually because the flapper valve needs replacement. This job is quick, taking just about 15 minutes and costing around $10 at your local hardware store.
Local Plumbing Tips
Here’s a pro tip just for you: in our sunny Irvine climate, make sure to insulate those pipes! With the heat and sudden chill, you don’t want them freezing or bursting. A little foam insulation goes a long way. Trust me, it’s better than dealing with a watery disaster later! If you’re worried about potential plumbing scams during repairs, check out how to spot plumber overcharging.
If you’re going DIY, I recommend getting a basic plumbing toolkit. A decent wrench, some pliers, and a good plunge will make you ready for most household emergencies. And hey, watch a few tutorials—there’s no shame in getting some extra tips on the tube! When tackling complex plumbing issues, professionals often use specialized diagnostic techniques like advanced plumbing diagnostic methods.
When to Call in the Pros
Also, let’s not forget—Irvine has some amazing plumbing pros if the job is too big. If you’re facing a sewer line issue or massive leak, don’t DIY it—call in the cavalry. It can be hella tempting to save a buck, but some things are just better left to the experts. If you’re considering expanding your skills, you might want to explore owning a multi-trade business in Irvine.
So, when you’re faced with your next home plumbing project, think of this: perhaps we can get closer to solving it together! If all else fails, don’t hesitate to give me a shout. I’m always stoked to help a fellow homeowner who wants to know more about plumbing basics and DIY techniques.
Final Words on Plumbing Vent Pipe Configurations and Best Practices
We covered what a plumbing vent pipe is, considerations before configuring one, instructions on proper installation with bends, cost of installation, factors affecting the installation, special considerations, and when to consult a plumbing expert.
In simple terms, while plumbing vent pipes can feature 90-degree turns, it’s advisable to limit them for optimal airflow. Best of luck with your plumbing projects, and remember, I’m here to help if you encounter any challenges.
For further insights, visit Irvine Plumbers.
Useful References
- Kardon, R., Hansen, D., & Casey, M. (2015). Code Check Plumbing: A Field Guide to the Plumbing Codes. Taunton Press.
- Can Plumbing Vent Pipes Have 90 Degree Turns? Expert Answers & Codes
- plumbing – Can I replace 45° elbows with 90° elbows in a vent stack? – Home Improvement Stack Exchange
Also See: Can I Own a Plumbing and Electrical Business in Irvine?