How Much Does a Plumber Charge for a Hose Bib?
Last Updated: February 27, 2025
A hose bib is a water spout on the outside of your home. It’s where you connect your garden hose to water your plants or wash your car!
One of the top questions I get from DIY enthusiasts is how much does a plumber charge for a hose bib. Based on my firsthand experience, I can help you understand the costs and factors involved.
This article covers everything about how much a plumber charges for a hose bib, important things to consider before starting, installation steps, budget impacts, cost factors, and when to get professional help.
Table of Contents
- How Much Does a Plumber Charge for a Hose Bib?
- What is a Hose Bib?
- Before You Start: Important Considerations
- How to Install a Hose Bib
- How Cost for a Hose Bib Installation Affects Your Budget
- What Factors Affect the Cost Of Hose Bib Installation?
- Understanding Pricing Variations for Hose Bib Repairs
- Common Issues Affecting Hose Bib Costs
- Seasonal Considerations for Hose Bib Pricing
- Additional Costs to Consider for Hose Bib Installation
- Comparing DIY vs. Professional Installation Costs
- Special Considerations for Hose Bib Installation
- When to Hire a Professional Plumber for Hose Bib Installation
- Frequently Asked Questions Related to Hose Bib Pricing
- Final Words: Understanding Hose Bib Costs and Installation
- Additional Resources
How Much Does a Plumber Charge for a Hose Bib?
A plumber typically charges around $150 to $300 for installing or replacing a hose bib. Costs can vary by location, accessibility, and materials used. Including permits, expect an average of $200 in the Irvine area. If you’re considering a DIY approach, you might want to rent a plumbing snake to help with the job. Always get a detailed quote!
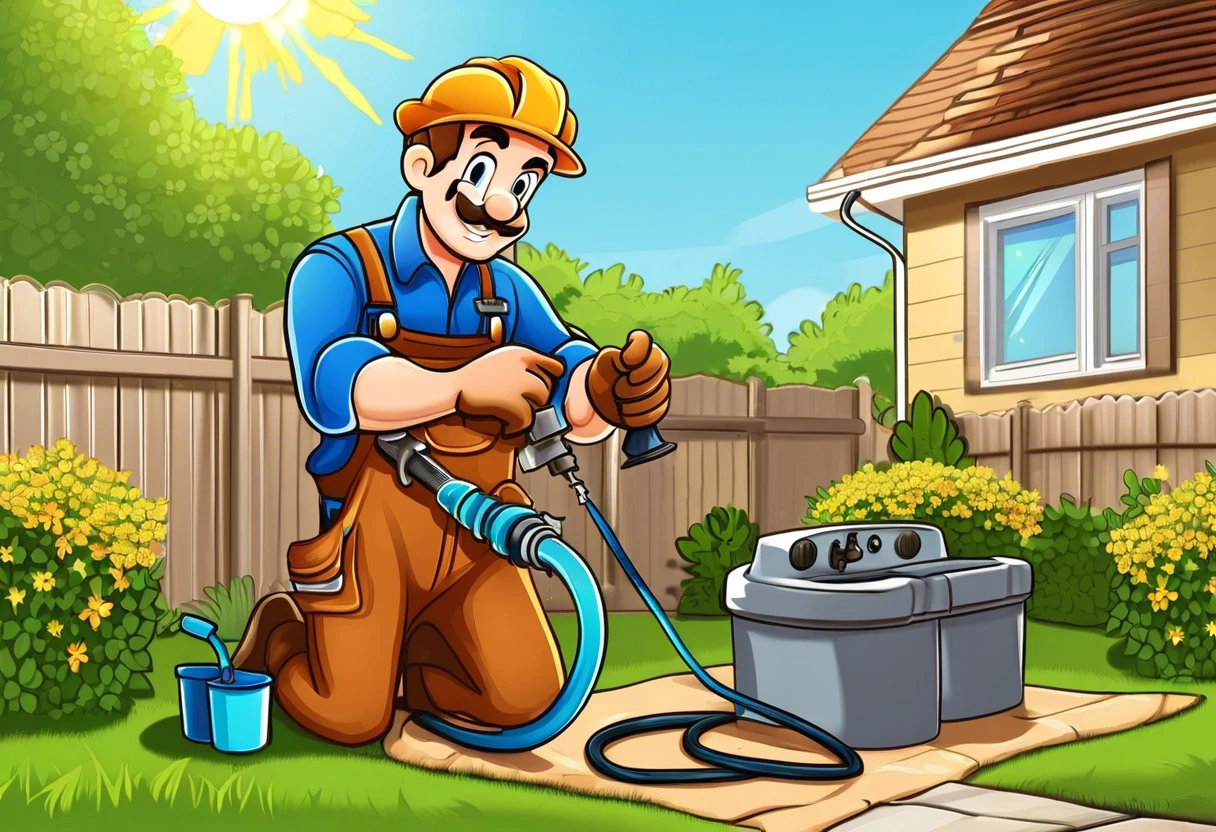
What is a Hose Bib?
A hose bib is a term pros like me use to describe an outdoor faucet (Or Spigot) that easily connects to a garden hose. These essential fixtures are usually made of brass or plastic and designed to handle high water pressure, typically sitting at about 40 to 60 psi (Pound-force Per Square Inch). You’ll find them in backyards all over Irvine, CA, allowing us to water gardens, wash cars, or fill up pools—super handy for any home! They often have quarter-turn or two-handle designs, making them easy to operate. Plumbing technology has significantly evolved since the vintage plumbing systems of 1970.
I found it really useful when I needed to water my bursting array of rose bushes in the Irvine heat. Now, when diving deeper into costs, the average cost to hire a plumber tends to fluctuate based on local rates and the specifics surrounding installation—which might run anywhere from $150 to $400 for a standard hose bib replacement here in the OC. We also talk about the $PASF (Professional Average Service Fee), which typically hovers around $100 for the first hour, adjusting based on complications or parts needed. And remember, if you need a steady supply of water as summer fire season approaches, having a functional bib is a must! When unexpected plumbing issues arise, you might want to call an emergency plumber quickly.
Before You Start: Important Considerations
What do you need to consider before changing your hose bib?
- Pipe Wrench: You’ll need a solid pipe wrench, like the RIDGID 818, designed for grip and torque. It’s essential for efficiently removing the old hose bib.
- Teflon Tape: Grab a roll of Oatey Teflon tape. This is crucial for sealing the threads to prevent leaks after installing your new bib.
- Hose Bib Replacement: Opt for a heavy-duty hose bib like the Amtrol 85574-004. This item’s vital because a quality bib impacts water flow and longevity.
- Water Shutoff Tool: Use a special valve shutoff tool like the Omega O48. I can’t stress enough how much that’ll save you time, as it will prevent potential flooding while you work.
- Protective Gear: Don’t forget your gloves and goggles! Especially if you’re dealing with old solder, these items ensure safety during the replacement process.
We’ve wrapped up important considerations for your project here. Let us turn our attention to installing a hose bib.
Also See: How to Plumb a Fuel Cell: A Quick DIY Guide
How to Install a Hose Bib
Let’s dive into the steps and costs of hiring a plumber for a hose bib installation. These crucial steps will make sure everything goes smoothly!
-
Shut Off the Water Supply
First things first: turn off the water supply at the main valve. You’ll usually find it in your garage or on an outside wall.
This step is super important because it prevents any water mess during installation. Grab that valve and make sure it’s completely closed—no water, no worries!
-
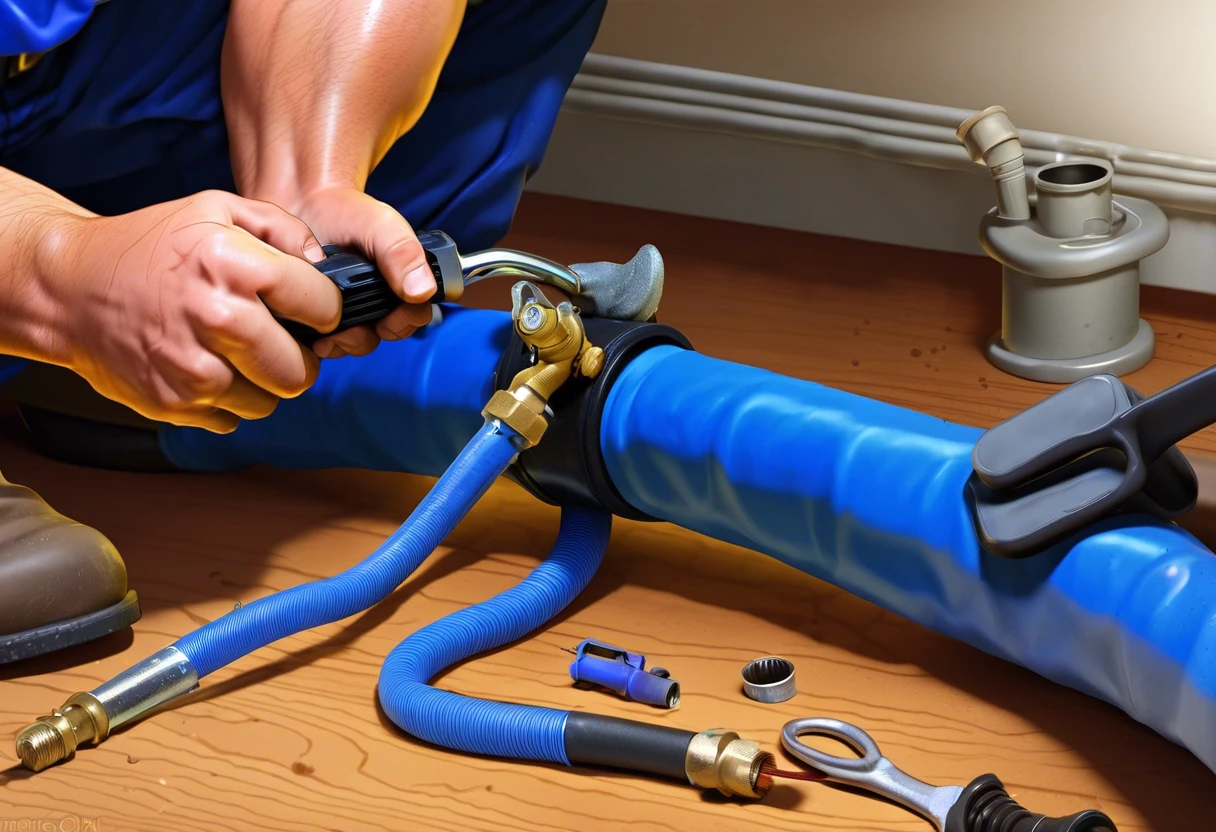
Remove the Old Hose Bib
As someone who’s been knee-deep in plumbing for years, I can tell you that removing the old bib requires a little muscle. Use an adjustable wrench to loosen the connections—it’s usually a good idea to hold a rag under it to catch any leftover water. If you’re curious about the evolution of plumbing techniques, plumbing materials from the 1980s offer fascinating insights into how our trade has transformed.
Once loose, just twist the bib off the wall or post it’s attached to. Be ready for some water to rush out, so have your towels at the ready!
-
Install the New Hose Bib
Now it’s time to attach your shiny new hose bib. Most bibs come with a threaded connection—just screw it into place and tighten it with your wrench without over-tightening, which could lead to leaks.
Make sure you use some pipe thread sealant or Teflon tape on the threads for that watertight seal. Here’s where different bib types come into play; if it’s a frost-free bib, ensure it’s oriented correctly so it drains properly!
-
Turn the Water Supply Back on
With everything installed, it’s time to turn your water supply back on. Gradually turn that valve until it’s fully open—fingers crossed, right?
Pour some water through an existing hose on the new bib for the first test run. Check for leaks around the connections—if all’s good, you’re ready to enjoy that sweet outdoor water connection!
Pro Tip: Always keep an eye on the fittings for a couple of days after installation; this way, you catch any leaks before they turn into big headaches.
That covers the steps to install a hose bib. Let’s now take a look at how installation costs impact your budget.
How Cost for a Hose Bib Installation Affects Your Budget
When you’re looking into how much a plumber charges for a hose bib installation, costs typically range from $100 to $500, depending on whether you tackle it yourself or hire a pro. In my experience, if you do it yourself, you can save some coins, but unexpected expenses like old pipes or permit fees might sneak up on you. I’d recommend budgeting around $250 overall to cover both straightforward costs and surprises, and expect installation to take a day if everything goes smoothly. If you encounter any unexpected blockages during the process, you might need professional help to resolve plumbing system interruptions.
Cost Breakdown for Hose Bib Installation
| Cost Item | Low Estimate ($) | High Estimate ($) |
|---|---|---|
| Materials (Hose Bib, Fittings) | 30 | 100 |
| Labor (Professional Vs. DIY) | 70 (DIY) | 250 (Professional) |
| Permits and Other Fees | 0 | 150 |
| Total Cost Estimate | 100 | 500 |
We’ve wrapped up the impact of hose bib installation costs on your budget. Let us turn our attention to the factors influencing these costs.
What Factors Affect the Cost Of Hose Bib Installation?
So, what factors impact the price of installing a hose bib?
-
Location of the Hose Bib: Whether it’s inside your garage or out in your backyard, the location can either make things easier or slow the job down, affecting labor costs.
-
Type of Hose Bib: A standard hose bib will cost less to install than a frost-free bib or specialty type that may require additional plumbing adjustments.
-
Plumbing Codes: In Irvine, local codes might require specific installation practices or permits, which can add that ‘meh’ factor to the overall cost.
-
Accessibility: If the location is tough to reach or requires extra equipment like ladders or sheetrock removal, be sure to budget a little more because labor may be higher.
That covers the factors influencing hose bib installation costs. Let’s now take a look at the pricing variations for hose bib repairs.
Understanding Pricing Variations for Hose Bib Repairs
Sometimes, the job isn’t just about installing a new hose bib. Repairs can also affect pricing, so let’s break down what you might encounter.
- Minor Repairs: If your hose bib is leaking or not functioning properly, minor repairs can range from $50 to $150. This usually involves tightening connections or replacing washers.
- Major Repairs: If the hose bib needs to be replaced due to damage or deterioration, expect to pay $100 to $250 for labor and materials to install a new bib.
- Pipe Leakage Repair: If the issue lies deeper, such as pipe leaks behind walls or underground, costs can skyrocket, reaching $200 to $1000 depending on the complexity.
Common Issues Affecting Hose Bib Costs
Here are some common issues that might inflate your costs when dealing with a hose bib.
| Issue | Typical Cost Impact ($) | Repair Timeframe |
|---|---|---|
| Worn Washers | 20 | 1 Hour |
| Corroded Threads | 50 – 100 | 2 Hours |
| Complete Bib Replacement | 150 – 300 | 2 – 3 Hours |
| Pipe Leaks | 200 – 1000 | 4+ Hours |
Seasonal Considerations for Hose Bib Pricing
Seasonal changes in our lovely Irvine can impact hose bib usage, repairs, and costs.
- Summer Fire Season: Hose bibs are crucial during this period for irrigation and firefighting prep. Increased demand may slightly hike service prices by 10-20% as more homeowners seek installations.
- Winter Freeze: If your plumbing isn’t winterized, you may have to contend with freezing pipes, leading to emergency repairs that can cost more, typically around $100 – $700.
- Maintenance Season: After the rainy season, it’s a good time to check your hose bib. Plan for potential costs around $50 – $150 for maintenance checks and repairs.
Additional Costs to Consider for Hose Bib Installation
When planning for hose bib installation, it’s crucial to account for any additional costs that may pop up during the process.
| Cost Item | Low Estimate ($) | High Estimate ($) |
|---|---|---|
| Frost-Free Hose Bib Upgrade | 50 | 150 |
| Permit Fees | 0 | 100 |
| Repairing Damages from Removal | 0 | 250 |
| Reinforcement of Structure | 20 | 80 |
| Total Additional Cost Estimate | 70 | 580 |
Comparing DIY vs. Professional Installation Costs
Are you considering whether to handle the hose bib installation yourself or hire a pro? Here’s a side-by-side comparison.
| Installation Method | Estimated Cost ($) | Time Required | Skill Level Required |
|---|---|---|---|
| DIY Installation | 100 | 2-4 Hours | Basic Plumbing Skills |
| Professional Installation | 250 | 1-2 Hours | Licensed Professional |
Special Considerations for Hose Bib Installation
When you’re putting in a hose bib, there are a few technical aspects to keep in mind to make sure it works like a charm and follows the rules.
- Frost Protection: If you’re in an area that can get chilly (Below 32°F or 0°C), go for frost-free hose bibs. These stay above ground to help prevent ice from forming.
- Pipe Sizing: Use the right pipes, usually 1/2 inch (1.27 Cm) in diameter, to ensure good water flow without back pressure. A pipe that’s too small won’t support heavy flow.
- Distance from Water Supply: Aim for a max distance of 40 feet (12.2 M) from your main water line to keep up ideal water pressure and flow rates.
- Backflow Prevention: Install a vacuum breaker or anti-siphon device to prevent contamination of your home’s water supply. This typically costs about $15–30.
- Access for Open-Air Connections: Make sure there’s enough clearance (16–18 Inches or 40.64–45.72 Cm) around the hose bib itself to avoid blockages while using it.
When to Hire a Professional Plumber for Hose Bib Installation
Let’s face it—installing a hose bib can look like a DIY task on the surface. However, if you’re “hella” unfamiliar with plumbing work, it might be smarter to call in a pro. You should look for an expert who has solid reviews, knows the local plumbing codes in Irvine, CA, and charges fairly. Many pros in our area typically charge between $100 and $250 for hose bib installation, including materials and labor. When considering long-term plumbing durability, it’s crucial to understand how PVC pipes perform locally.
Just remember to watch out for those lowball estimates; they’ll probably end up being super inconvenient down the line. I’ve seen it happen before when folks got stoked about a low fee, only to be hit with costly reworks. So, when it’s all about getting the job done right, consider enlisting some expert help for that sleek backyard upgrade—some peace of mind is priceless, am I right?
Frequently Asked Questions Related to Hose Bib Pricing
What is the Average Cost for a Hose Bib Installation?
The average cost for a hose bib installation typically runs between $150 to $300. This price includes labor and materials, which can vary based on location and specific circumstances of the job.
Are There Additional Costs Associated With Hose Bibs?
Yes, there can be additional costs associated with hose bibs, including permit fees, extra materials for connecting or relocating, and potential repairs to surrounding areas. If your water supply needs upgrades, this can add about $100 to $250, depending on the scope of work. When planning your plumbing project, you might want to explore the intricate relationship between electrical and plumbing systems.
How Long Does It Take to Install a Hose Bib?
It usually takes about 2 to 4 hours to install a new hose bib. Factors like accessibility, placement, and plumbing conditions can affect this time; however, most standard installations fall within this timeframe. If you want to dive deeper into technical plumbing terminology like VTR, plumbers often explain specialized terms.
Can I Install a Hose Bib Myself to Save Money?
You can install a hose bib yourself if you’re comfortable with DIY projects, but it’s best to hire a professional for proper plumbing protocols. You’ll want to invest in solid knowledge about local codes and necessary tools to prevent any issues after installation. If you’re curious about specific plumbing terminology like plumbing basics for DIY, professional guidance can clarify technical details.
What Should I Look for When Choosing a Plumber for Hose Bib Installation?
When choosing a plumber for hose bib installation, look for licensed and insured professionals with positive reviews and a solid track record in your area. It’s also helpful if the plumber can provide upfront estimates and outlines of expected timelines and costs. If you’re curious about the professional journey behind skilled plumbing work, you might want to explore the path to becoming a plumber.
Do You Need a Plumber to Replace a Hose Bib?
Yes, it’s recommended to contact a plumber to replace a hose bib, especially if it involves plumbing codes or potentially complicated piping. They’ll ensure proper installation to prevent leaks and damage, saving you more hassles down the line. When considering pipe materials for your home, local plumbers can help you select the most appropriate best pipes for residential systems.
What is the Average Price to Replace a Hose Spigot?
The average price to replace a hose spigot ranges from $100 to $250. This covers both parts and labor, and any additional costs for relocating existing plumbing could raise the price further, depending on individual needs.
Who to Call to Replace a Hose Bib?
To replace a hose bib, call a licensed plumber who’s experienced with outdoor plumbing solutions. They can handle issues from installation to potential repair needs, helping ensure everything’s up to code and running smoothly. If you’re considering expanding your plumbing business or want to understand its true market potential, check out evaluating plumbing business worth.
Also See: How to Make a Plumbing Snake Turn Corners?
Final Words: Understanding Hose Bib Costs and Installation
I’m glad we could cover this topic together. We discussed the costs associated with hiring a plumber for hose bib work, the purpose of a hose bib, key considerations before beginning the project, the installation process, how expenses fit into your budget, factors affecting pricing, special conditions to keep in mind, when to call in a professional, and answers to frequently asked questions about hose bib costs.
In summary, plumber charges for hose bib installation or replacement typically range from $100 to $300. If you have any further questions, please don’t hesitate to reach out—I’m here to help with any plumbing needs, big or small.
For more expert advice, visit Irvine Plumbers.
Additional Resources
- City of Irvine Plumbing Permits and Codes – https://www.cityofirvine.org
- How Much Does It Cost to Replace an Outdoor Spigot? | Angi
- r/homeowners on Reddit: Is this estimate for hose bib replacements too high?
- How Much Does an Outdoor Spigot Cost in 2025?