How to Plumb A Fuel Cell?
Last Updated: February 27, 2025
A fuel cell is like a magic box that turns fuel into electricity. It uses special chemicals to help create power, kind of like how a battery works but can keep going as long as there’s fuel.
A question that pops up time and time again is how to plumb a fuel cell. From my own experience dealing with fuel cells here in Irvine, I’m excited to guide you through the process and make sure you feel confident!
In this guide on how to plumb a fuel cell, you’ll learn about the basics of fuel cells, preparation steps, plumbing instructions, costs involved, factors affecting plumbing, special considerations, and when to call in an expert.
Table of Contents
- How to Plumb A Fuel Cell?
- What is A Fuel Cell?
- Before You Start Plumb a Fuel Cell…
- How to Plumb a Fuel Cell…
- How Much Does It Cost to Plumb a Fuel Cell?
- What Factors Affect the Plumbing Of a Fuel Cell?
- Special Considerations When Plumbing a Fuel Cell…
- When to Consult an Expert for Fuel Cell Plumbing
- Maintenance Tips for Plumbing a Fuel Cell
- Common Problems When Plumbing a Fuel Cell
- Understanding Fuel Cell Compatibility
- Understanding Fuel Cell Plumbing Materials
- Fuel Cell Plumbing Layout Options
- You, the Unlikely Plumbing Hero Of Irvine
- Final Words on Fuel Cell Plumbing
- Additional Resources
How to Plumb A Fuel Cell?
To plumb a fuel cell, connect fuel lines to the cell’s inlet and outlet. Use durable connections and follow local plumbing codes. Ensure venting systems are present for safe operation. Finally, double-check for leaks before use. When working with complex plumbing systems, professional guidance can help you navigate technical installation challenges.
What is A Fuel Cell?
Fuel cells are awesome devices that convert chemical energy directly into electrical energy through an electrochemical reaction. This reaction generally involves hydrogen and oxygen, resulting in water as the primary byproduct. For those into numbers, a typical fuel cell can produce about 0.5 to 10 kW of power. They’re not just used in cars—some models can achieve efficiencies of over 60%—but they also show hella promise in large-scale energy projects around Irvine, CA.
I’ve definitely used them before for a few local trucks that needed reliable power solutions. Transitioning to how to plumb a fuel cell, it’s essential to ensure the right fittings, especially when connecting a fuel cell to a pump for smooth operation. If you’re thinking about connecting a Radium fuel cell or exploring mounting ideas for a truck bed, keep in mind it’ll typically set you back about $300 to $1,500, depending on the features you want. You can totally do this yourself—trust me.
Before You Start Plumb a Fuel Cell…
What do you need to prep for this project? Here’s your checklist!
- Fuel Cell: Pick a model like the Radium Fuel Cell, which holds 20 gallons (75.7 L). It’s crucial for supplying your vehicle with the right fuel. You want something reliable for those Orange County weekends running around!
- Fuel Cell Fittings: Grab a set like the Moroso Fuel Cell Bulkhead Fittings. These allow proper connections that’ll keep things sealed tight. You definitely need these to avoid any leaks.
- Fuel Cell Mounting Kit: Get something like the Graham Fuel Cell Mounting Bracket. This’ll ensure your fuel cell is securely in place while you’re tearing down the 405.
- Fuel Line Hoses: Make sure to use quality fuel line, like the Aeroquip Stainless Steel Braided Hose. This is crucial for preventing wear. No one likes a breakdown in the Valley!
- Socket Wrench Set: A decent set like the DEWALT 1/2-in Drive Socket Set will be essential for easy installation around your fuel cell. You’ll be stoked once it makes the job go faster!
So far we covered the basics of plumbing a fuel cell. Let’s look at the practical steps for plumbing a fuel cell next.
Also See: How to Bid a Plumbing Job in Irvine? Expert Tips!
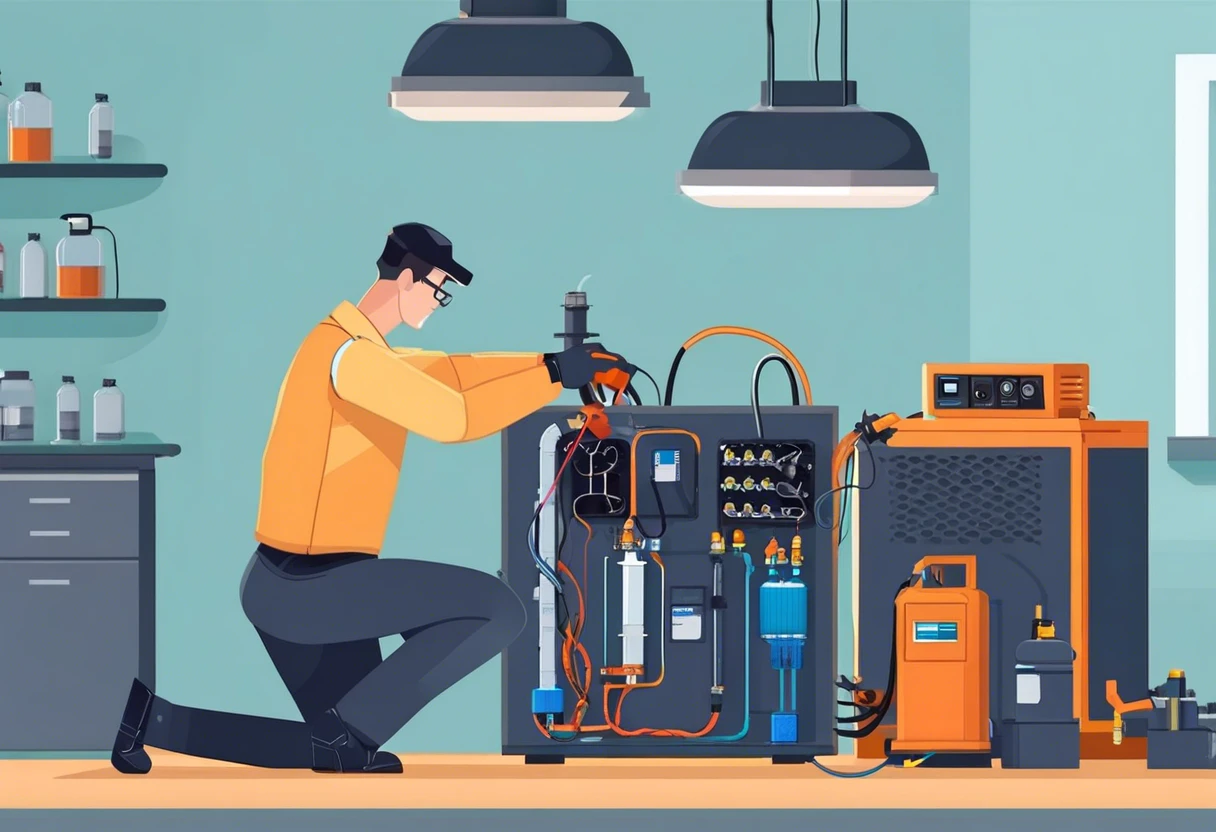
How to Plumb a Fuel Cell…
Now, let’s dive into the steps for effectively plumbing a fuel cell in your vehicle. This involves key installation methods to ensure reliability and efficiency as you power your ride. When dealing with complex plumbing challenges, you might want to explore professional drain clearing techniques that can inform your approach to precise fluid system installations.
-
Choose the Right Location for the Fuel Cell
Select an ideal spot in your vehicle that minimizes movement while maximizing airflow; the trunk usually works perfectly for most setups. Keep in mind it should also sit parallel to the frame to prevent any pressure issues down the line.
In some setups, especially in trucks or race cars, balancing the weight evenly is crucial. A well-centered placement keeps your rig hella stable through those turns, which is super important for handling and safety.
-
Install Fuel Lines and Connectors
Start by securely fastening the fuel cell to the mounting platform using brackets designed for stability. Use AN hoses and high-quality connectors to ensure a tight seal; the industry standard for fuel lines is between 3/8 in (9.5 Mm) and 1/2 in (12.7 Mm), depending on your fuel amount needs.
Route the lines away from heat sources whenever possible, and use heat shields or braided covers if necessary. Here’s a nugget of wisdom I’ve picked up: always double-check your fittings for leaks before finalizing your routes.
-
Wiring the Fuel Cell System
Establish a firm connection to your power supply using appropriate wiring; 12-gauge wires are perfect for most systems to avoid voltage drop. You’ll want to use heat-shrink tubing for joints to ensure water and corrosion protection.
Make sure you have functional relays and fuses rated correctly for the entire setup. Mismatched or under-rated components can literally kill your whole fuel cell system faster than you can say “California freeway.”
-
Test for Leaks and Functionality
After installation, run your fuel system under pressure before cranking up the engine; this ensures there’s no dreaded fuel leak action before you hit the road. Have a buddy look around while you start up, and picture them finding a leak—it happens, right?
If leaks pop up, fix them immediately with new fittings or consider rerouting the lines for better clarity. These steps aren’t just suggestions; they’re vital for safely hitting those OC drag races this fire season.
Pro Tip: Regularly apply lubrication grease to your connectors; it can prolong their lifespan, resulting in fewer complications long-term.
That covers the steps for plumbing a fuel cell. Let’s now take a look at the costs associated with it.
How Much Does It Cost to Plumb a Fuel Cell?
When you’re looking to plumb a fuel cell, you can expect to spend anywhere from $500 to $3,000, depending on the complexity and the materials you choose. Keep an eye out for unexpected expenses like permits or retrofitting (Updating) existing plumbing—these can add a couple hundred bucks to your budget. Personally, I’d recommend budgeting around $1,500 to cover most bases, and you’re looking at a timeline of about a week for installation. From my experience in Irvine, CA, historic costs haven’t varied much from this range, especially considering local building codes that can incur extra costs! If you’re curious about the longevity of your plumbing materials, PVC pipe durability matters significantly.
| Expense Category | Low Estimate | High Estimate |
|---|---|---|
| Materials | $200 | $1,500 |
| Labor (Professional) | $300 | $1,000 |
| Permits & Fees | $0 | $500 |
| Misc. (Retrofitting, Unexpected Costs) | $100 | $500 |
| Total Estimated Cost | $500 | $3,000 |
We have now covered the costs associated with plumbing a fuel cell. The next section will explore factors affecting fuel cell plumbing.
What Factors Affect the Plumbing Of a Fuel Cell?
So, what factors should you consider when tackling a plumbing task?
-
Fuel Cell Size: Larger fuel cells require longer and more complex plumbing to ensure proper flow.
-
Fuel Type: Different fuels have varying viscosities (Thickness), affecting the type and diameter of fittings used.
-
Installation Location: Whether you’re placing it in a truck bed or somewhere else impacts hose lengths and routes.
-
Wiring Proximity: Proximity to your electrical system influences the time and efficiency needed for installation.
We covered the factors influencing fuel cell plumbing. We will now cover special considerations for plumbing a fuel cell.
Special Considerations When Plumbing a Fuel Cell…
In this section, I’ll share key technical factors to consider when you’re plumbing a fuel cell.
- Fuel Line Materials: Use high-pressure-rated hoses or tubes, like PTFE (Polytetrafluoroethylene) or braided stainless steel. They should withstand at least 690 kPa (100 Psi) to prevent leaks.
- Proper Ventilation: Ensure the plumbing area has proper airflow to handle fuel vapors. Measure the exhaust duct size to match the manufacturer’s specifications for effective combustion.
- Safety Valves: Include a safety release valve set with a relief pressure around 345 kPa (50 Psi). This prevents system overload and ensures safe operation.
- Thermal Considerations: Install thermal insulation where needed. Keep plumbing components away from heat sources. Effective thermal management reduces risk and aligns with local safety standards.
When to Consult an Expert for Fuel Cell Plumbing
If you’re diving into the world of fuel cell plumbing, at some point, you might realize it’s time to call in a pro. Look for someone who specializes in fuel cell systems, ideally with real hands-on experience with your model. If a contractor can share insights about previous installations and improvements they’ve done, you’re definitely on the right track! Homeowners should be aware that certain older plumbing materials impact system performance.
Based on my experience serving the OC area, I recommend researching credentials and customer reviews. You want someone reliable who knows Southern California plumbing rules inside and out. And watch out for those who give off a weird vibe—transparency is key. Are they keeping the chatter minimal? Sometimes it’s a sign they’re hiding something—trust me, I’ve seen it before! Curious about how plumbing standards have evolved over time, I discovered fascinating insights into historical plumbing practices in the late 19th century.
Maintenance Tips for Plumbing a Fuel Cell
Keeping your fuel cell plumbing in prime condition is crucial for smooth operation. Here are some top tips to stay ahead!
- Regular Inspections: Set a schedule to check your fuel lines and connections every few months. Look for wear, cracks, or corrosion. It’s like checking your oil, but, you know, for fuel!
- Clean Fuel Filters: Maintain the fuel filters to prevent clogs. A squeaky clean fuel filter is key to avoiding system headaches. Do this every 6,000 miles (9,658 km) or so.
- Inspect Venting Systems: Ensure your venting is clear and functional. This helps reduce pressure build-up in the fuel system—definitely something you don’t want going sideways!
- Check for Leaks: After filling up, look for leaks around your fittings and hoses. Even the smallest leak can be a big issue later on, so nip it in the bud!
Common Problems When Plumbing a Fuel Cell
Every DIY project has its hurdles. Here are some common issues you might encounter while plumbing a fuel cell.
- Poor Fuel Flow: If you’re not getting enough fuel, check the diameter of your hoses. Too small, and you’ll choke the system! Stick to the recommended sizes.
- Vapor Lock: This can happen if your plumbing isn’t set up to allow air to move freely. Make sure your routing is clean and clear!
- Electrical Issues: Wiring mistakes can lead to failure. If you notice a weak start or inconsistent power, double-check your connections and relays.
Understanding Fuel Cell Compatibility
Not all fuel cells are created equal! Here’s how to ensure yours fits with your setup.
| Fuel Cell Type | Application | Compatibility Notes |
|---|---|---|
| Radium Fuel Cell | Racing Vehicles | Designed for high flow and quick delivery, ideally suits performance cars. |
| OEM Fuel Cell | Standard Vehicles | Mimics factory specifications; ideal for everyday use without modification. |
| Custom Fuel Cell | Project Cars | Offers flexibility in design, but requires careful planning to ensure fitment. |
Understanding Fuel Cell Plumbing Materials
When plumbing a fuel cell, the materials you choose can significantly affect your system’s performance and longevity. Here’s a breakdown of essential plumbing materials to consider. If you’re unsure about the potential risks of certain materials, plumbing experts recommend careful selection.
| Material Type | Best Use | Advantages | Considerations |
|---|---|---|---|
| PTFE (Polytetrafluoroethylene) | Fuel hoses and fittings | High chemical resistance; low friction | Costly; may require special fittings |
| Stainless Steel | Fuel tanks and lines | Durable; resists corrosion | Heavy; requires careful handling |
| Aluminum | Fuel tanks | Lightweight; good for mobile applications | Less resistant to corrosion than stainless steel |
| Brass | Fittings and connectors | Strong; easy to connect | Not suitable for all fuels; may corrode |
Fuel Cell Plumbing Layout Options
The layout of your fuel cell plumbing is just as crucial as the materials. Here are different setup options to consider based on your needs.
- V-Layout: Good for performance vehicles; allows optimal fuel flow with minimal bends.
- Parallel Setup: Best for systems needing redundancy; if one line fails, the other continues to function.
- Side by Side: Useful for larger systems where space allows; ensures even pressure distribution across multiple lines.
- Looped Configuration: Ideal for constant supply and return; reduces dead spots in the system.
You, the Unlikely Plumbing Hero Of Irvine
Ever found yourself knee-deep in a plumbing conundrum, right here in Irvine, CA? Literally, it’s a whole journey! But don’t worry, I’ve been through it plenty of times.
Take that time when the OC heatwave dried up everything, and my showerhead felt like it was coughing rather than raining. I thought, “What now?!” But with some trusty tools and a bit of ‘Cali’ know-how, I took on the challenge.
For those of you who feel lost at sea, think of plumbing as a puzzle. In other words, it’s about figuring it out piece by piece. That’s what I love about it! Sometimes you gotta roll up your sleeves and dive right in. When working with complex plumbing systems, knowing technical abbreviations like CTS terminology helps professionals.
Do you ever notice your water bill creeping up? Could be a leaky faucet—those guys are sneaky and can waste gallons of water. Trust me, I’ve seen homes in Irvine blow hundreds of bucks a year just from drips that seemed harmless. If you’re renting and wondering about plumbing repair responsibilities, check out landlord plumbing maintenance guidelines.
If you’re ready to tackle a fix, here’s a quick tip: check your aerators. You can literally unscrew them, clean them out, and put ’em back. It’s a fast refresh that can boost your shower pressure, too! You’d be surprised how often homeowners overlook this. When diving deeper into home maintenance, knowing the basics of essential plumbing system components can help you tackle more complex repairs with confidence.
And speaking of pressure, let’s chat about your toilet. If it’s running nonstop, it’s not just annoying—it’s a cash drain. The flapper might be worn out; it’s an easy fix and can save you a ton ‘o cash. Just swing by the store, grab a new one for about ten bucks, and you’re all set! When tackling more complex plumbing issues, you might need specialized tools like a professional plumbing snake rental.
For those DIY projects, I’ll give you a heads-up: don’t be hella shy when it comes to asking for help. There’s no shame in calling up your friendly local plumber if things go sideways. I mean, could you imagine trying to fix a broken pipe without knowing what you’re doing? Not a fun time. If you’re serious about mastering plumbing skills and DIY techniques, you might want to explore professional plumbing career paths.
So, if you ever find yourself facing a plumbing nightmare, remember: you’re not alone! Whether you need tips, a buddy with tools, or a professional, I’m always stoked to help my fellow homeowners in Irvine. If you’re considering expanding your skills and wondering about launching a multi-trade business locally.
Also See: What is a Plumbing Work Schedule? Key for Efficiency
Final Words on Fuel Cell Plumbing
That’s everything I wanted to share with you regarding how to plumb a fuel cell. We covered topics like what a fuel cell is, things to consider before plumbing, step-by-step plumbing instructions, costs involved, factors that affect plumbing, special considerations, and when to consult an expert.
I hope these insights, gathered from countless jobs here in Irvine, prove valuable for your home maintenance on how to plumb a fuel cell. For additional assistance or services, feel free to explore what we offer.
For further information, Irvine Plumbers is here to help you.
Additional Resources
- City of Irvine Plumbing Permits and Codes – https://www.cityofirvine.org
- 153xx: Installation Instructions for Fuel Cells, Fuel Cell Mounts and Sending Unit
- INSTALLATION INSTRUCTIONS Summit Racing …
- r/MechanicAdvice on Reddit: Best way to install a fuel cell